Friday FAQs: Spice mix uses, smoothie freezer packs, coconut milk differences, and more!

Purple Monster Protein Smoothie 02899 3

Whew, what a whirlwind start to September we’ve had! Between home renovation setbacks, caring for a sick toddler, and the launch of my new cookbook, things have sure been lively. But I’m happy to say Oh She Glows Every Day has now hit shelves across North America (why is releasing creative projects into the world so darn scary?), the little one is in good health, and the reno situation is…well, a typical reno situation, hah. But all of that aside, we’re super excited for this month as Adriana turns 2 in a couple weeks and my due date is just days after. There’s no doubt that this month promises to bring some big changes in the Liddon household. I’m basically feeling every kind of emotion you can imagine right now.

Before I get to this week’s Friday FAQs, I’d like to let you know about some retailers carrying Oh She Glows Every Day. In the US, you can currently find the book at Barnes & Noble and Sam’s Club. In Canada, you can find the book in Costco, Chapters/Indigo, and Loblaws! More to come soon.

Last but not least, I’d like to share this week’s #osgeveryday blog tour posts. I can’t thank these lovely bloggers enough for their kind words. Be sure to check out the links below for some recipe sneak peeks, giveaways, and Q+As!

  • Mandy’s Healthy Life
  • The First Mess
  • Oh My Veggies
  • Yum Universe
  • Cookie + Kate
  • Carrie on Living
  • Wholehearted Eats
  • Detoxinista
  • My Darling Vegan
  • Vegan Crunk


Q1. Hi Angela. These new veggie burgers look great. I have a question about the sweet potato—in the directions you write that it works out to about 4 cups, but when making the patties you only use 2 cups of cooked potato. Is this because you are accounting for some “shrinkage” during the cooking process? Hehe. Thanks in advance!! I love your first book and can’t wait to buy the second.

A. Thanks, Melanie! Yes, you are totally correct…there’s shrinkage! Haha. 4 cups raw sweet potato (or squash) translates to just over 2 cups cooked. I hope this helps clarify. Feel free to make extra and serve it alongside the burgers!

Q2. Wondering—will your Oh Em Gee Veggie Burgers hold up on the grill??? I’m looking for something that can hold up to grilling as my parents love making hamburgers and I need an alternative for my husband and myself. 🙂 Thanks!

A. Hi Becky, I haven’t tried it yet, but I think they would! I’d suggest prebaking in the oven for 15 minutes, and then grilling on each side for a few minutes over medium heat. If you give it a try, please let us know how it goes!

Q3. Hi Angela! Love your site and cookbook. It’s helped me a ton since I met my (vegan) boyfriend almost 2 years ago. I’ve been dying to ask, do you have any more specific suggestions for using the 10-Spice Blend? I see you’ve written “pasta, potatoes, soups” but any other recipe besides your 10-Spice Vegetable Soup?? Thanks!!

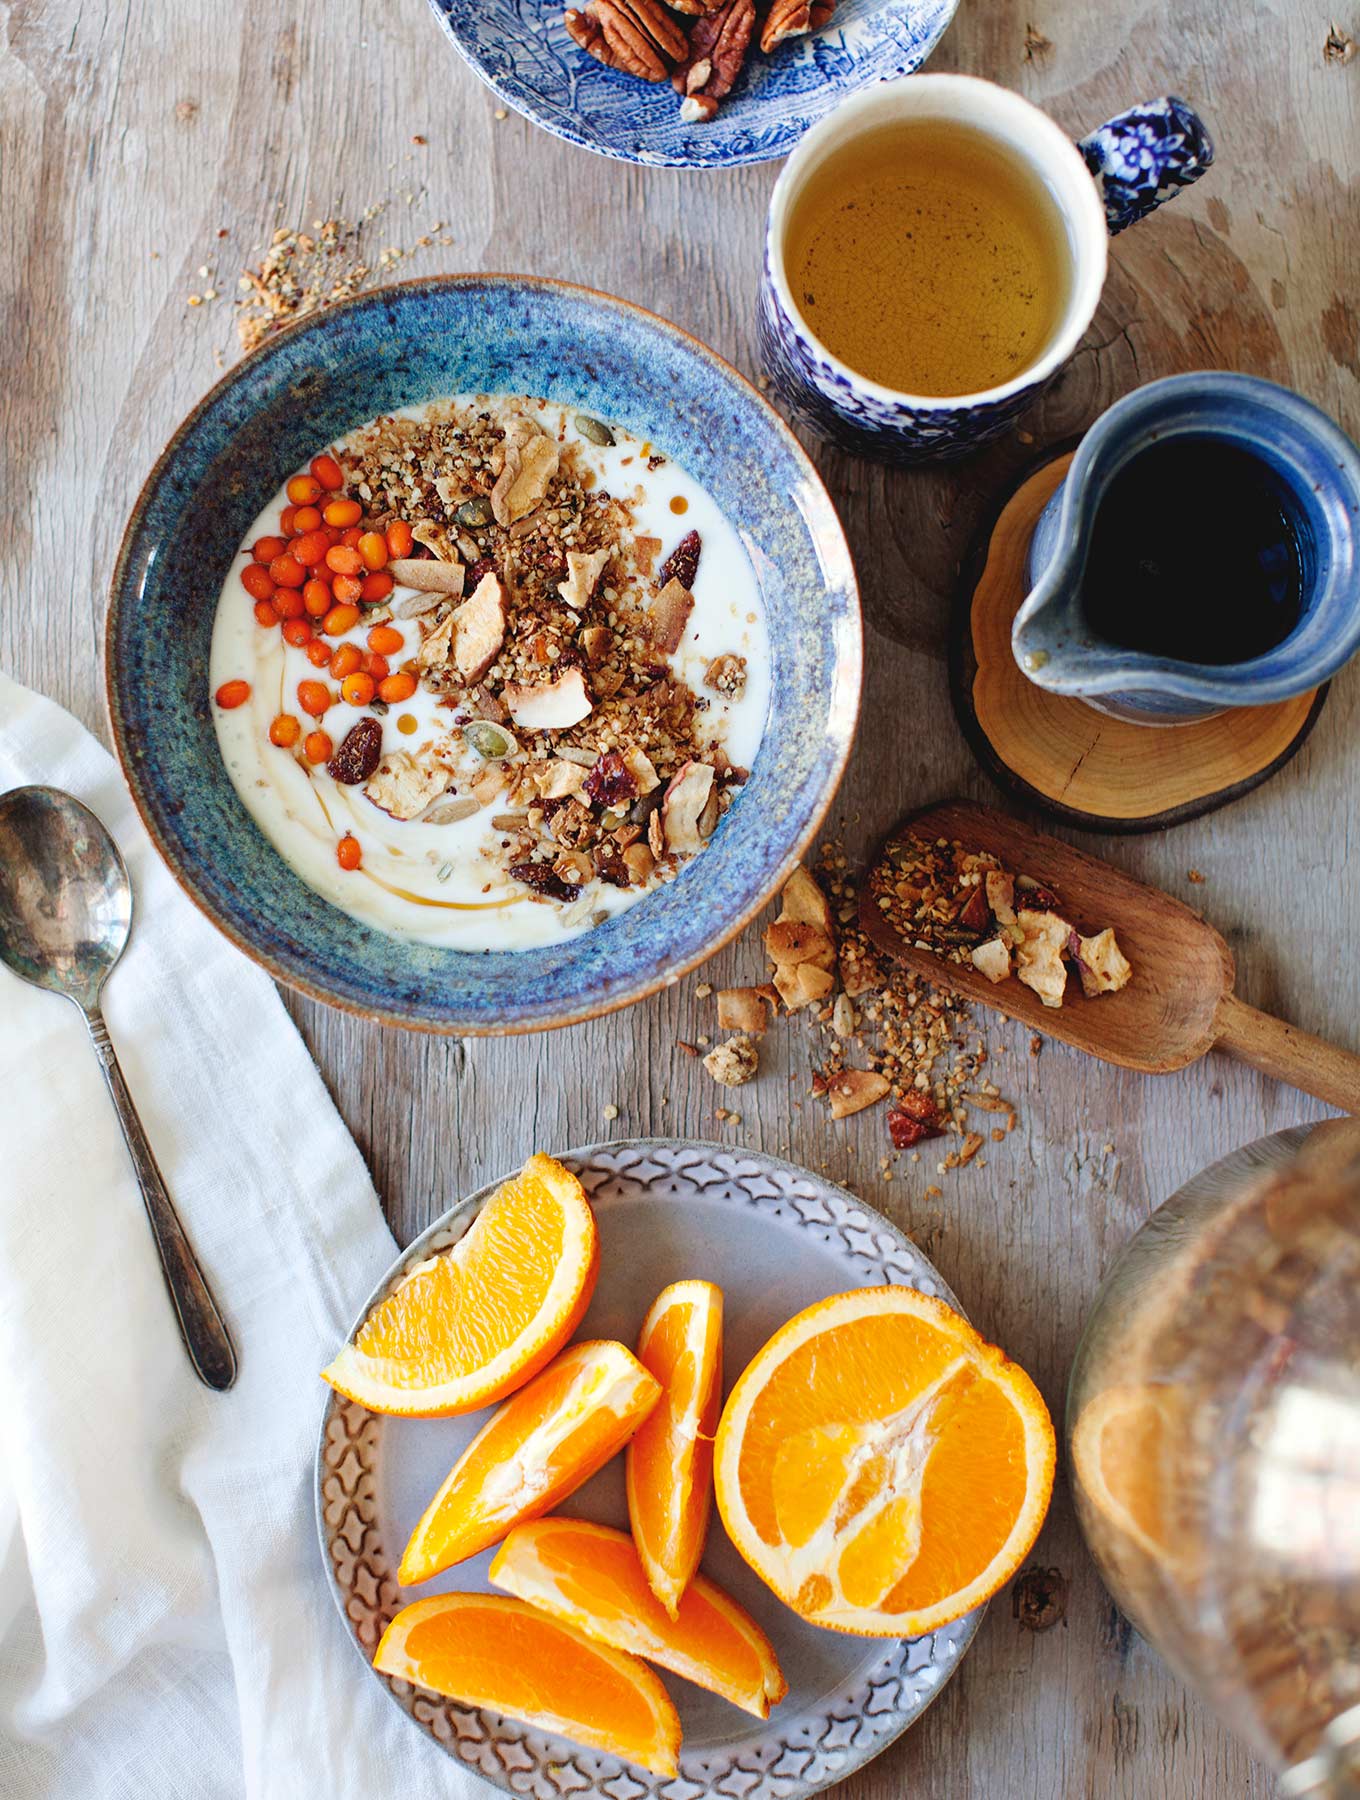
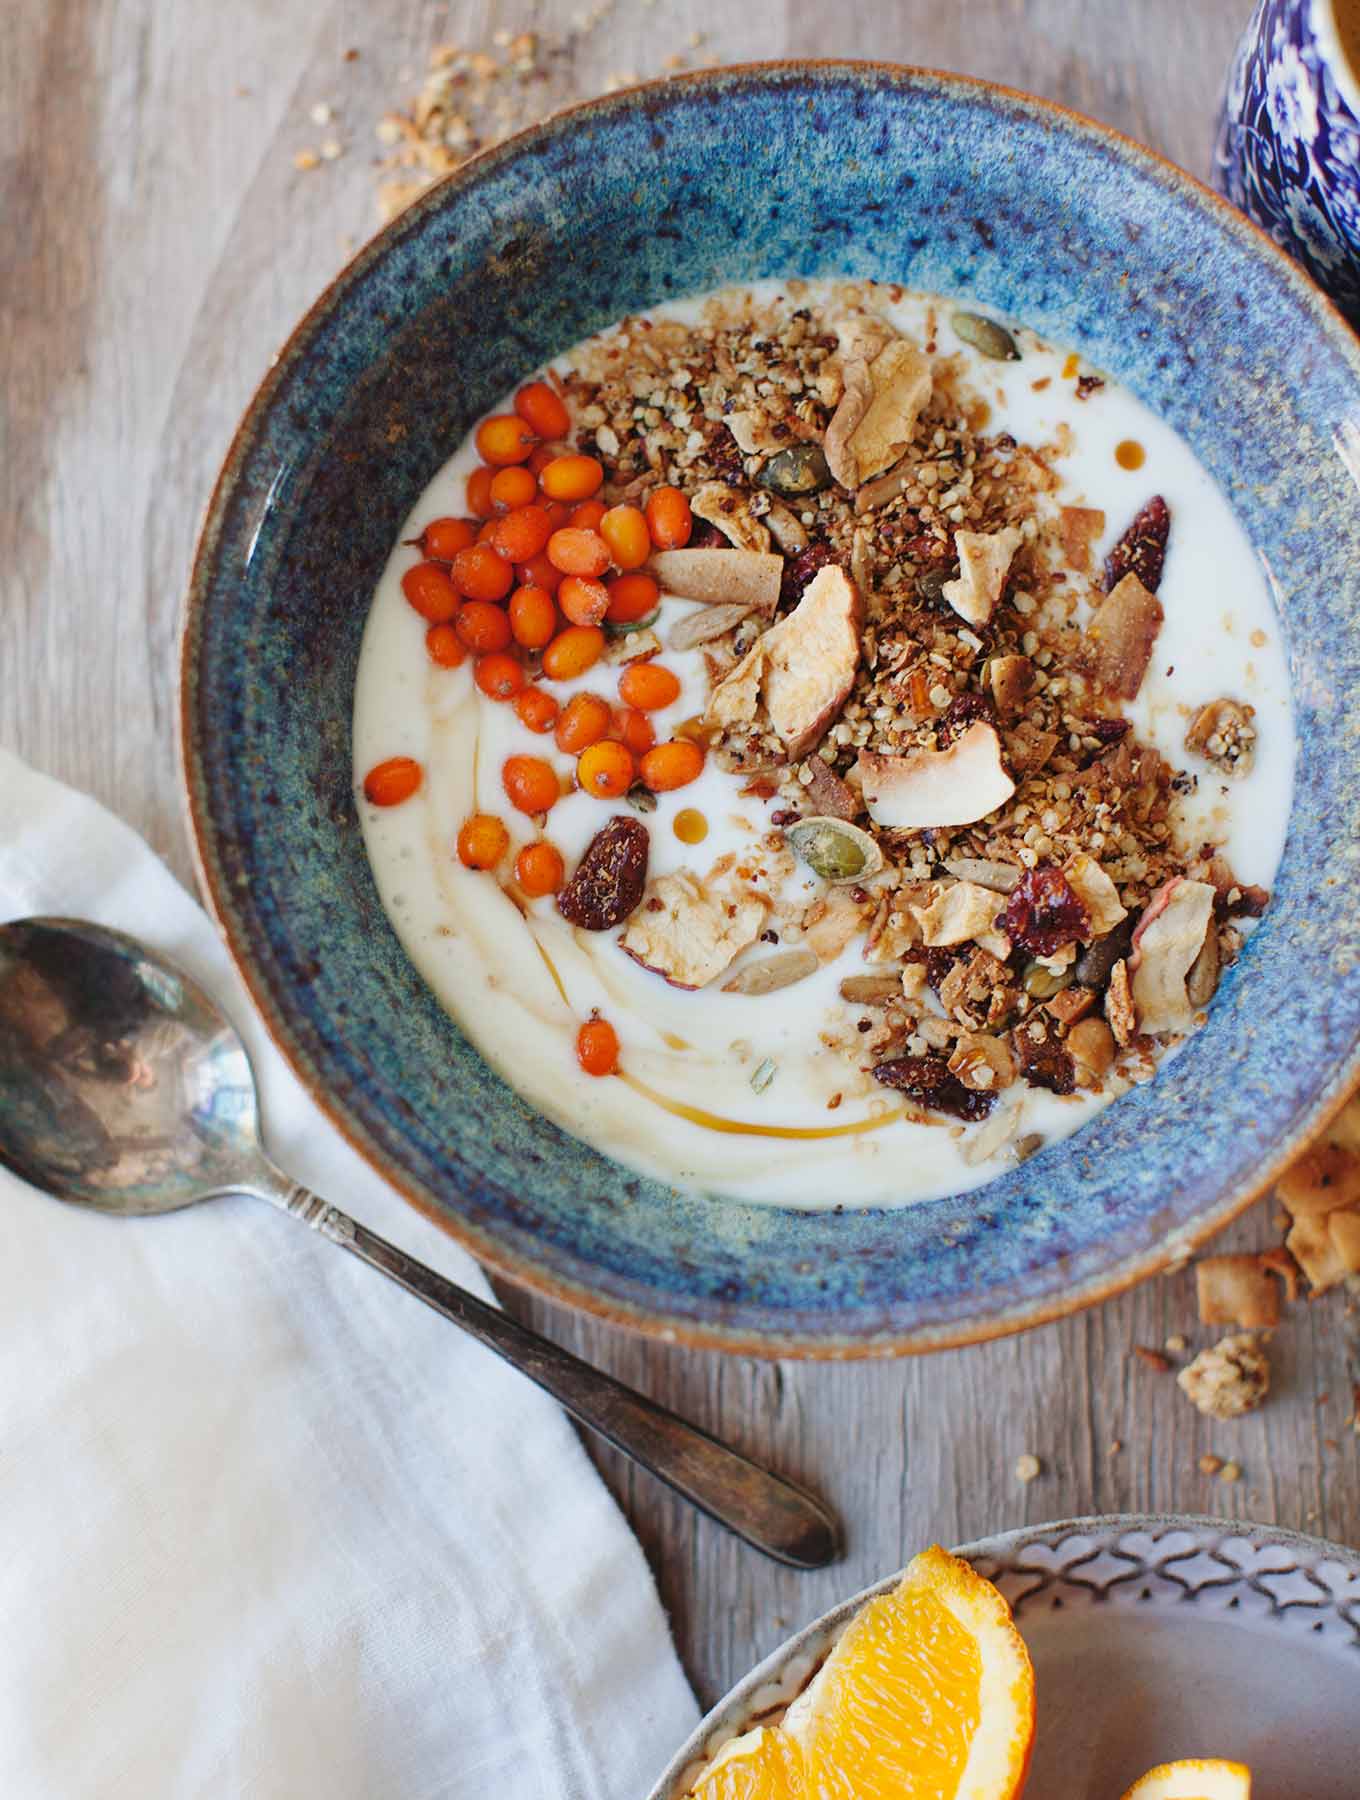
A. Hi Kayla, This is such a great question! The wonderful thing about the 10-Spice Blend is that it’s so versatile; you can get really creative with how you use it in your kitchen. Aside from the 10-Spice Soup (which is an OSG cult fave!), you could use it to kick scratch tomato sauce up a notch, or add a new twist to roasted potatoes or Lightened-Up Crispy Baked Fries (The Oh She Glows Cookbook, p. 203), kale chips, Crispy Baked Onion Rings, Pan-Seared Garlic Tofu (OSG Cookbook, p. 197), or Perfect Roasted Chickpeas (OSG Cookbook, p. 220). I love adding a tablespoon or so to Endurance Crackers, and sprinkling it over toast topped with avocado and hummus. You can also try it in my Oh Em Gee Veggie Burgers and Metabolism-Revving Spicy Cabbage Soup (Oh She Glows Every Day, p. 139).

Q4. Hi Angela, great suggestions for make-ahead meals! One question…what do you mean by a ‘smoothie pack’??

A. Hey Allison, By a smoothie pack I mean that I freeze some of the non-liquid smoothie ingredients in a freezer bag. It’s a fun little trick for make-ahead smoothies! For example, you can turn my Green Tea Lime Pie Smoothie Bowl into a freezer pack. Simply place the spinach, banana, avocado, and matcha into a small freezer bag, then press out the air and seal. This can be stored in the freezer for 1 to 2 weeks. When you’re ready to use, simply add the coconut water, lime juice/zest, and maple syrup into the blender along with the contents of the bag. Blend on high until smooth (adding ice only if necessary).

Q5. I loved your homemade Bailey’s recipe, but I think I messed up somewhere by using normal coconut milk in a carton for the “light” coconut milk. Do you think that’s why it wasn’t as thick as it should have been? Thank you though, for this amazing recipe!!!

A. Hi Sierra, If you mean the cartoned coconut milk (the kind typically found near soy or almond milk in the grocery store), I do think that’s the likely culprit! Like soy and almond milk, this type of coconut milk is really more of a dairy milk replacement that is best consumed as a beverage or used in smoothies, over cereal, and so on. It’s typically watered down and contains other additives as well, and so it tends to be lighter/thinner than even the “light” canned coconut milk. In my recipes I will specify canned coconut milk, and also indicate whether I used full-fat or light. Another possibility as to why it was thin is that the liquid needed to be cooked down longer than it was. So you could always try throwing it back on the stovetop and simmering it a bit longer until the volume reduces. I hope you still enjoyed the Homemade Bailey’s, though, even if it wasn’t quite as rich!

Comment of the week:

With the release of my new cookbook, I’ve received so many warm, enthusiastic messages that I can’t pick a single one to highlight. Some of them seriously brought me to tears. Thank you to everyone who’s picked up a copy of the book, placed it on a wishlist, signed it out at the library, or simply shared their support for this latest adventure. You helped make Oh She Glows Every Day a reality and I couldn’t be more grateful. 🙂

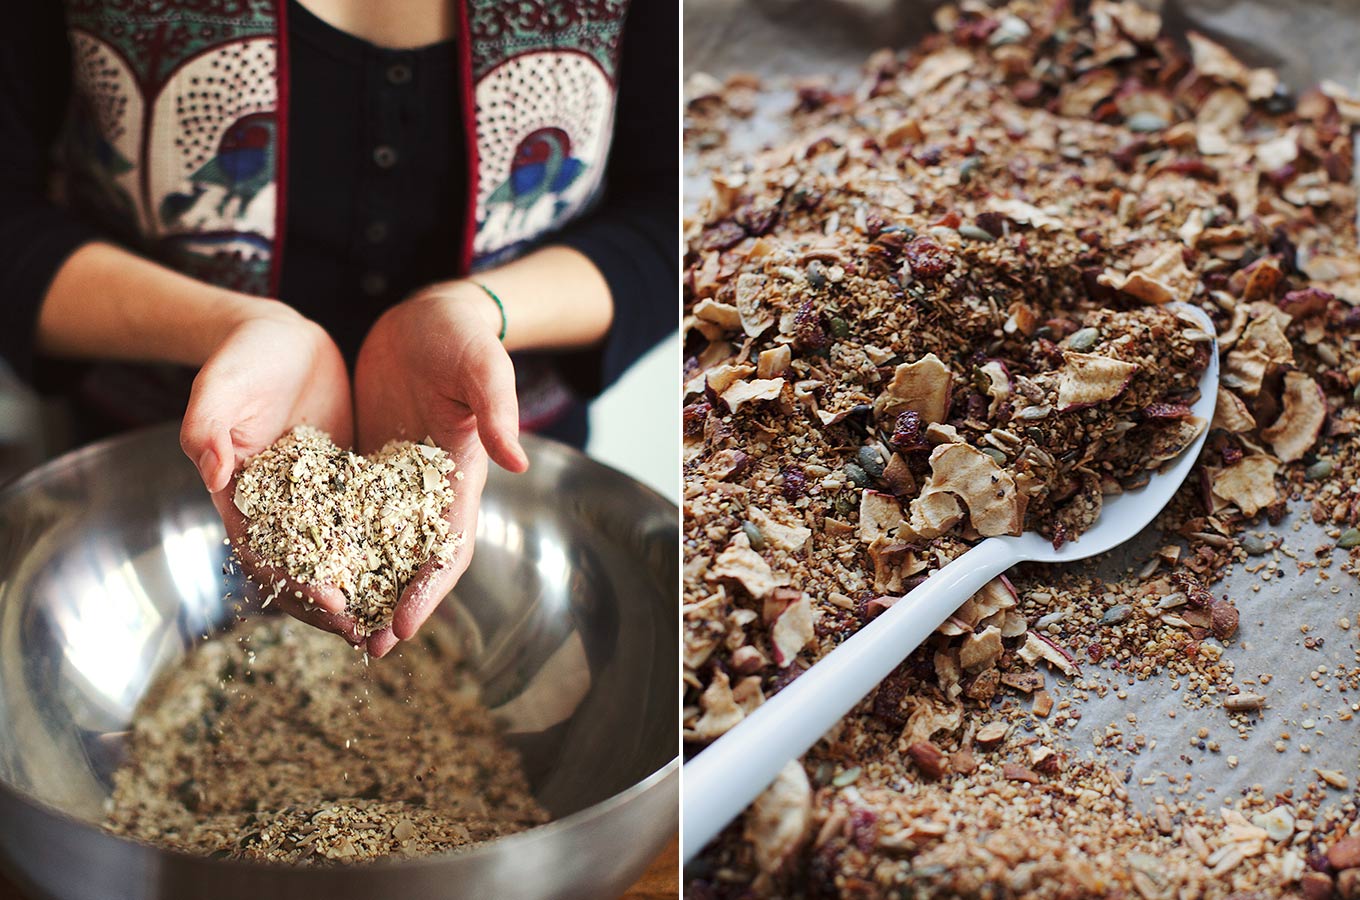
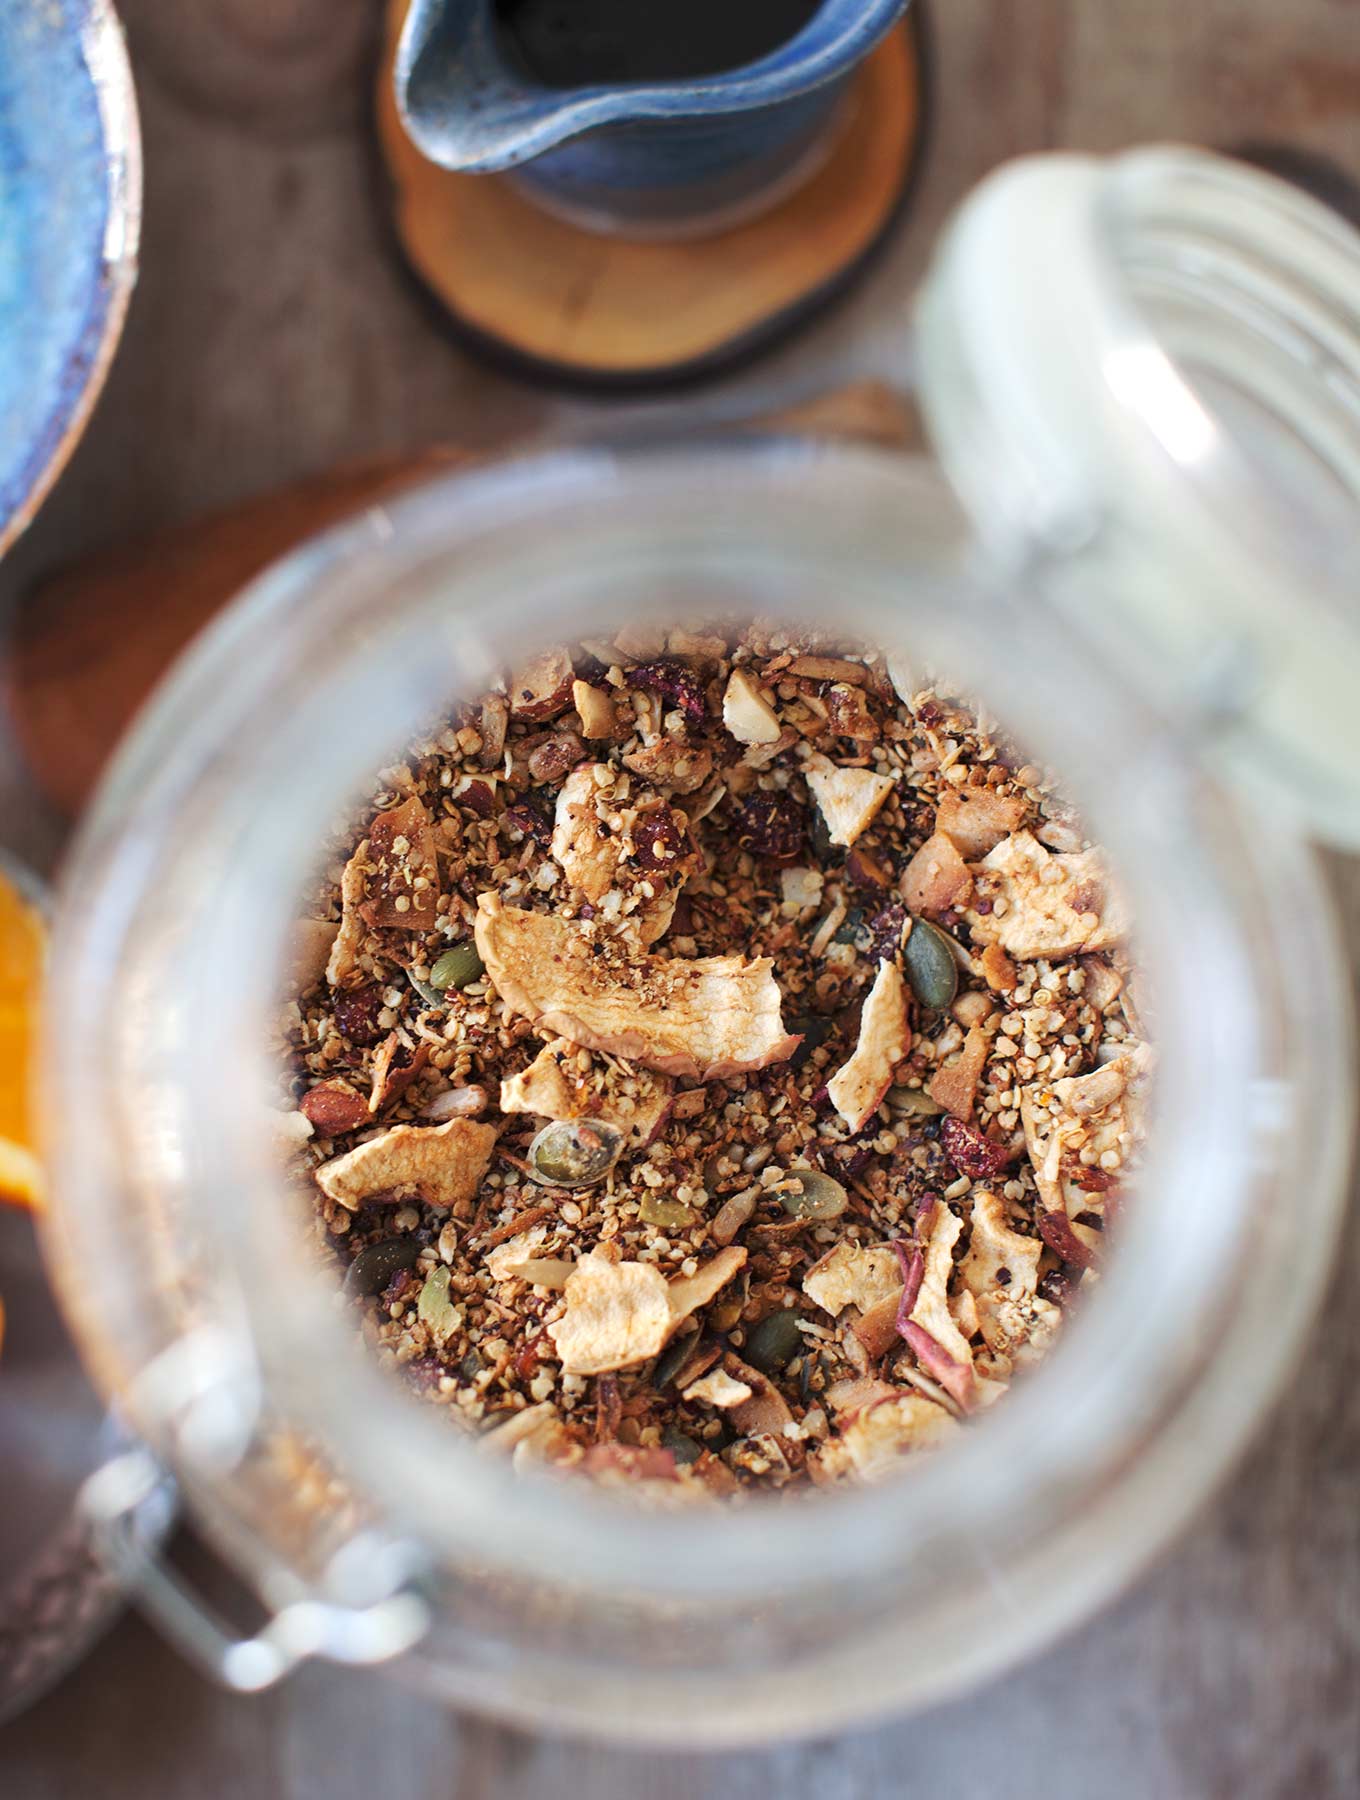
PS—That cute little spice mix at the top of this post is the Pumpkin Pie Spice Mix! It takes minutes to throw together and you’ll be sprinkling it in everything from oatmeal to smoothies to pies and more.

Oh She Glows

Friday FAQs: Swaps for beets, recreating restaurant dishes, coconut subs, and more!

veganparfait

We’re on the cusp of the Victoria Day long weekend here in Canada, and I’m so thrilled that the weather forecast is promising sunshine and warm temperatures at long last! One of our plans for the weekend is to make our backyard more kid-friendly for Adriana, and I’m looking forward to creating a fun space that she can enjoy all summer long.

I’m so glad that you guys are enjoying my Friday FAQs. You can find previous weeks’ FAQs here: Week 1, week 2, week 3, week 4, week 5.  If you’re looking for some camping-friendly food tips this weekend or next, be sure to check out question #3 in this post, and also read the comments filled with advice as well! I love answering your questions so keep them coming via blog comments or on social media, and I’ll select a handful each week to feature.

Also, just a quick note to let you know that my 21 Weeks pregnancy post is now live, and Issue 7 of In the Glow will be going out later this morning. This issue’s theme? You guessed it: long weekend recipes! You can sign up for our newsletter here.

Q1: Is there anything I could use instead of the pumpkin purée in your Gooey Pumpkin Spice Latte Pudding Cake? This really looks so creamy and delicious and I would love to make it, but where I live you can’t buy canned pumpkin purée and they aren’t currently in season either. Could you please help me out?

A: Great question, Nadja! I think you could try swapping homemade butternut squash purée; it should work best in terms of texture. If that isn’t an option, you might want to try mashed banana. I’ve been wanting to try a chocolate banana bread flavour of this very dessert! I hope this helps, and would love to hear how it goes if you try anything out.

Q2: Great series! I have a question as well: Over the years you have often successfully recreated food items from a store or restaurant. Do you have any tips on how to do this? I tried this amazing fake tuna in a vegetarian restaurant (it was wrapped in an avocado-topped sushi roll) and I’d love to recreate it! The ingredients were sunflower seeds, celery, leeks, organic soy sauce and seaweed. How would you start?

A: Oh wow, sunflower “tuna” in an avocado sushi roll sounds absolutely divine! The ingredients sound pretty simple, so it might not be too hard to recreate at home. I would probably sauté the celery and leek in some oil (coconut oil, perhaps), and then add the soy sauce to taste, followed by some soaked and chopped sunflower seeds (I’d use a food processor to chop them quickly). I have no idea if this is similar to what you were served, but you could always experiment! Sometimes I will use Google to search for ideas if I’m really stuck. Also, you might want to try my chickpea or almond “tuna” salad recipes for a fun twist!

Q3: Hi @ohsheglows do you have any suggestions for substitutions for the beets in the Pink Power Detox Smoothie? I really really really dislike beets!!

A: Hi there, Beets are a love it or hate it food, aren’t they? Feel free to try substituting strawberries, raspberries, blueberries, or cherries—I think they would all be lovely!

Q4: Quick question…I saw that you drizzled a hummus and vinegar dressing over your cucumbers awhile ago on Snapchat, it looked amazing and I would love to know what you used in it!

A: Hi Liz, haha—yes I sure love that snack during pregnancy!! All I do is add a couple big spoonfuls of hummus into a small glass and then add a tiny bit of white vinegar to thin it slightly (be careful not to add too much and make it super runny—you still want a thick-ish texture so it sticks to the cukes). I have to warn you—it’s quite sour thanks to the vinegar, but if you’re craving that flavour there is really nothing better. 😉

Q5: Hi there, Thank you so much for your delicious recipes! I have doctor’s orders to stay away from coconut milk/coconut oil. Have you tried your Glowing Spiced Lentil Soup without? Do you think it would be just as tasty? Thanks again!

A: Hi Kelly, I haven’t tried this recipe without coconut milk myself, but I’d recommend replacing it with a homemade cashew cream, if possible. My suggestion would be to blend 1 1/2 cups water with 3/4 cup soaked and drained cashews until super smooth, then stir this in rather than the can of coconut milk. If cashews aren’t an option, an unsweetened, unflavoured almond milk might work in a pinch (although it won’t be nearly as creamy and rich). If you try anything please leave a comment in that post and let us know!

Comments of the Week:

“I just want to send appreciation for the beautiful work you do. I’ve been swamped at work, which means I’d rather order takeout than stop and cook a meal, but seeing new recipes download into the gorgeous recipe app inspires me to keep being diligent in making choices that are good for myself. Finally, I brought your Life Affirming Warm Nacho Dip to a potluck Sunday, and literally every person there said they loved it and wanted to know where to find the recipe. I am so delighted to share the joy of Oh She Glows with them. :-). Maybe I need to buy the book in bulk to give out at potlucks? Hee hee.”

Hey Ruth, Oh I’m so thrilled to hear that the app is inspiring you so much! I can relate to feeling the urge to order takeout lately, and I agree that sometimes all it takes is scrolling through some beautiful dishes to ignite the inspiration again. I’m also happy that my Life Affirming Warm Nacho Dip (p. 83 of The Oh She Glows Cookbook) was such a hit. It’s a favourite in this house. Thanks for spreading the love!

“Hi Angela! I’ve been following you for about a year now and love your recipes, your little stories, and your take on life! I even started a blog of my own which, along with some of my own recipes, features my progress as I cook ALL the recipes from your cookbook. You’ve liked a few of my tweets on the subject, which was such a thrill for me 🙂 This week is the last week of my self-titled “#osgcookbook challenge” and I’m super excited—just 3 recipes to go! I wanted to ask you—do you have any suggestions for substitutes for the apples in a lot of your smoothies? I have an allergy, so I’ve been using pears, but I’d love to explore other options. Thanks in advance!”

Hey Ashley, I’ve been following your #osgcookbook challenge, and I’m super impressed by all the dishes you’ve made and shared! Thank you so much. I hope that even more people find your challenge now, and are inspired to do the same. (If anyone wants to check it out, Ashley’s blog is here.) As for subbing apples, I think pears are a great swap, but if you want to mix it up you can try changing up the flavours with mango, peaches, oranges, plums, grapes, or berries. Each fruit will change the flavour of the smoothie, so it kind of depends on the recipe, but I don’t think you can go wrong with any of those really! Let us know what you come up with or if there are any recipes in particular you’d like help with.

Happy weekend everyone!

Oh She Glows

Emma’s Tahini, Orange + Coconut Muesli

Tahini Orange Coconut Muesli

I can’t recall the exact day that I stumbled into Emma Galloway’s world, but I do remember being completely and utterly awe-struck, inspired, and grateful. Her blog, My Darling Lemon Thyme has been on my highly edited list of sites that I actually read, and her delicious, innovative recipes have been making regular appearances in my kitchen ever since.

Joy of joys, Emma released a cookbook, and just like the blog, it is a true gem. Flipping through this book is kind of like shopping in a store where everything fits you perfectly, is the exact colour you want, and strikes the perfect balance between need and want. For instance, I need a recipe for gluten-free sourdough bread, and, I want another recipe for granola. She takes familiar ingredients and genius-ly transforms them into something unique and special that makes you ask: why didn’t I think of that?! Sweet Potato and Kale Latkes, Mung Bean Pancakes, Buckwheat Tabouli – the list goes on. Emma uses exclusively plant-based, gluten-free, whole food ingredients, and taste comes first! I want to tuck into every single one of her meals and treats.

tahinigranola7

Although it was nearly impossible to choose just one to share here, the recipe I settled on was Tahini, Orange + Coconut Toasted Muesli, as it sounded like the best and most exciting new way of enjoying granola, and the perfect way to bid farewell to those last winter oranges in the market. The idea of adding tahini to granola was totally brilliant (thanks again, Emma), along with the flavours of toasted coconut and oranges. Yum. After baking, the additions of dried fruit are really special and deliver bright, juicy hits throughout the toasty nuts, seeds and grains. It’s incredibly balanced and tasty, and makes a stupendous topping for yogurt, porridge – even as snack eaten right out of the jar. A bag of this on a recent trip halfway across the world proved to be a real lifesaver!

tahinigranola2

The next time I make this recipe, I am going to try it with rolled oats instead of the quinoa flakes. Although it was a nice change to use a different grain, I find the texture of quinoa flakes a little too light and powdery – I prefer the heft and crunch that oats give to granola. I’ve even wondered about using buckwheat groats, which I love in cereal. I will keep you guys posted when I try something new!

Tahini Orange Coconut Muesli


tahinigranola6


Thank you, Emma, for sharing your gifts with the world. We love granola, and we love you.

xo, Sarah B

*   *   *   *   *   *

I’m also really excited to share some (hopefully) helpful information for you in the new Resources section here on the blog. Since I get many, many emails with similar questions about the practicalities of running My New Roots, I have decided to write a few pieces on the inner workings of this food blog – and where I don’t have the answer I have asked my team to kindly chip in… you know, about hosting and coding and technical stuff that makes my brain hurt ;)

Have a look and let me know if there is anything else, you’d like a writeup about!

xo, Sarah B.

The post Emma’s Tahini, Orange + Coconut Muesli appeared first on My New Roots.


My New Roots

Curried Pumpkin Soup with Coconut

Curried Pumpkin Soup with Coconut | http://naturallyella.com

Post originally published on October 8th, 2012. Last updated on October 4th, 2015.

Curried Pumpkin Soup |http://naturallyella.com

Let’s talk soup. This soup is amazingly creamy and delicious with being vegan and gluten free.  The pumpkin plays well with the curry and coconut- it’s a perfect meal.  I’ve even thought about leaving it more stew consistency and adding rice to the dish to make it a hearty main.

I recommend two routes for the curry powder: homemade or buy it from a spice shop (I have a few favorites but I’m digging Oaktown right now).  The curry powder in the grocery store won’t do any meal justice!  There are so many different ways you can whip up curry powder (I highly recommend just searching for “homemade curry powder” and find the right one for you).  I made this with a spicier thai red curry powder but I think any type of curry powder would be delicious!

See the Recipe.

The post Curried Pumpkin Soup with Coconut appeared first on Naturally Ella.

Naturally Ella

Toasted Coconut Apricot Muesli

Toasted Coconut Apricot Muesli | A Couple CooksToasted Coconut Apricot Muesli | A Couple CooksToasted Coconut Apricot Muesli | A Couple CooksToasted Coconut Apricot Muesli | A Couple Cooks

Growing up, I had an intense passion for breakfast cereal. At breakfast, I would create a small fort with two cereal boxes separated by a carton of milk, and I’d hide in my fortress and read the back of the boxes while slurping down at least two large bowls in a sitting. And it wasn’t just breakfast. After school snack? Cereal. And as I grew, mindless study snack in college? Cereal. Weeknight dinner in my first apartment out of college? Cereal.

When Alex and I started eating all whole foods, I resolved it was time to kick the cereal addiction. Not that cereal is “bad”, but I wanted to decrease my dependence on this food group and work on replacing it with whole grains instead. (Also, I was tired of grocery store clerks saying “You like cereal, huh?” when I checked out massive quantities of the stuff.) Switching to an entirely new breakfast tradition helped immensely, but I still found myself craving the cereal experience as a comforting treat.

So how to make non-processed, whole foods breakfast cereal at home? Oats, the original breakfast cereal. Oatmeal and granola are two of my favorites, but I started getting lazy and eating raw oats with milk and a bit of maple syrup. Turns out this is a real thing called muesli: a mixture of raw oats, dried fruits, seeds, and nuts. Instead of toasting the ingredients like in granola, they’re eaten raw with milk (regular, almond or soy). It might sound odd to those accustomed to breakfast cereal, but it is one of my favorite foods on the planet, probably because of the tradition of my cereal past.

Granted, I typically throw random oats and seeds in a bowl, but a fancy muesli like this one is well worth the time for a flavorful breakfast treat. This recipe combines dried apricots (since our pantry was abounding), crystallized ginger, and pumpkin seeds with oats, toasted almonds and toasted coconut for an unexpected mix of flavors. The recipe is completely customizable so feel free to sub in your favorite nuts, seeds, or dried fruits. We top it with almond milk, and if they’re on hand, some fresh berries. If you’d like, you can add a bit of maple syrup, but this mix is sweet enough that it doesn’t need it. I also like to add a small pinch of kosher salt to enhance the flavors. It’s so simple to put together, it’s almost a “non-recipe”, but I love that it’s a thing; and the perfect thing to satisfy my sentimental cereal+milk cravings.

We used Califia Farms almond milk and fresh blackberries from Broad Ripple Farmer’s Market. Another way to eat muesli is soaking it in milk overnight; we prefer the texture fresh. This is a great option for vegan / plant-based, vegetarian, gluten-free, and dairy-free breakfasts.

Toasted Coconut Apricot Muesli
 
by:
Serves: 5½ to 6 cups

What You Need
  • 1 cup sliced almonds
  • ½ cup coconut flakes
  • 3 tablespoons crystallized ginger, chopped
  • 1 cup dried apricots
  • 3 cups old fashioned oats
  • ⅓ cup pepitas (roasted, if possible)
  • ½ teaspoon cinnamon
  • A few pinches kosher salt
  • Almond milk, to serve (we used Califia Almond Milk)
  • Fresh berries, to serve (optional)

What To Do
  1. In a large skillet over moderately low heat, toast 1 cup almonds until fragrant and lightly browned, stirring frequently, about 5 minutes. Remove from the pan, then wipe the pan with a paper towel to remove any almond skin.
  2. Add ½ cup coconut flakes to the warmed pan and toast until golden, stirring constantly, for a minute or two. Cool the almonds and coconut flakes.
  3. Chop 3 tablespoons crystallized ginger and 1 cup dried apricots.
  4. When the almonds and coconut are cool, mix together with ginger, apricots, 3 cups oats, ⅓ cup pepitas, ½ teaspoon cinnamon, and a few pinch kosher salt. Store in an airtight container; stores a few weeks, but is best fresh. Serve with almond milk. If desired, top with fresh berries.

This recipe was developed for Califia Farms.

A Couple Cooks | RSS Feed

Super Thick Coconut Yogurt (the shortcut method!)

coconutyogurtreciperaw-8749

Hi, my name is Angela and I’m in love with coconut meat. I also like shortcuts, so discovering frozen bags of coconut meat made me a bit giddy…

coconutmeat

When I first tried coconut meat I wasn’t sure if I liked it, but it totally grew on me. It’s lightly sweet, super filling (it packs 8g fibre per 1/2 cup!), and has this irresistible silky, smooth texture. I love just eating it on its own as well as making it into this shortcut “yogurt”. Adriana on the other hand…well let’s just say when I let her try some of the yogurt (a version with just coconut and water), she made a dramatic gagging face while sticking her tongue out. I guess it’s not for everyone. haha! Maybe she’ll come around.

These bags of frozen coconut meat are more expensive than buying the young Thai coconuts and retrieving the meat yourself, so it’s something I splurge on once in a blue moon when I’m craving a fuss-free homemade coconut yogurt. But it can be whirled up in seconds! And no risk of hacking my hand off with a cleaver (I’m working on my cleaver skills…still not quite there yet). This shortcut recipe isn’t a true yogurt because it’s not fermented, but that’s partly why I love it so much. No wait time, no fuss. I empty a couple probiotic capsules in the yogurt, but you can totally leave the probiotics out if you wish. We’ll call this a “cheater’s” yogurt. A gotta-have-it-now yogurt. For those of you in the GTA, I find these frozen bags of coconut meat at Organic Garage..I think Whole Foods carries it too. If you want to do it the old-fashioned way, you can do that too of course! I link to a Youtube tutorial in the recipe below.

homemadecoconutyogurt

Hello dreamboat! As I mentioned, this version is super thick! It has a similar consistency to Greek yogurt. You can make it however thick or thin you wish just by adjusting the liquid amount. I find 1/2 cup of coconut water and 2 cups of coconut meat = a lovely thick yogurt…no straining required. Likewise, you can make it as sweet or tart as you want by adjusting the sweetener. I don’t like super sweet yogurt so I only add a tablespoon of sweetener into the blender. If I don’t want the yogurt to change colour, I use cane sugar (such as in these photos), but I also like to use maple syrup or raw coconut nectar too (which will dim the bright white yogurt a bit). You can also get creative and try making different flavours by adding fruit, chia jam, etc. I think I might try a coconut-mango-lime version next!

coconutyogurtreciperaw-8774

I made parfaits with strawberry-raspberry chia seed jam paired with a granola that I’m testing for my next cookbook (in the meantime, check out my Lightened Up Summer granola and the granola clusters in the Oh She Glows Cookbook). This yogurt is also awesome in vegan overnight oats, smoothies, and I hear you can make raw ice cream with it too.

Here is my batch of strawberry-raspberry-vanilla chia seed jam below. As a general rule of thumb for making chia seed jam, I use about 300-450 grams of fruit, 3 tablespoons of pure maple syrup (adjust depending on tartness of fruit), 2 tablespoons of chia seeds, and a pinch of pink salt. You can flavour it with vanilla, lemon, orange, etc. For how to make it, see this post.

chiaseedjam

coconutyogurtreciperaw-8739

Super Thick Coconut “Yogurt”

Vegan, gluten-free, grain-free, no bake/raw, nut-free, oil-free, soy-free

This “shortcut” coconut yogurt is as simple and fresh as it gets! I occasionally buy coconut yogurt from the grocery store, but when I want something that is super fresh and without any added ingredients I will make this version for a fun treat. Granted, it’s not a true yogurt since there’s no fermentation, but I love how quick this version is. I often take the shortcut by purchasing frozen coconut meat (found in the freezer section of some health food grocers, like Organic Garage or Whole Foods) rather than buying young coconuts. Once the meat is thawed it just takes a minute of blending to create a yogurt with a texture similar to Greek yogurt. If you are well-versed with young coconuts and a cleaver, feel free to scoop out the flesh the old-fashioned way too! See this video for a tutorial. I recommend making this recipe in advance so it has time to chill in the fridge. Thanks to Gena from Choosing Raw for the recipe inspiration!

Yield
2 cups
Prep Time
5 Minutes
Cook time
0 Minutes
Total Time
5 Minutes

Ingredients:

  • 2 cups fresh young Thai coconut meat (or thawed Young Thai Coconut Meat, see headnote)
  • 1/2 cup coconut water (or use filtered water in a pinch)
  • 1 tablespoon fresh lemon juice (reduce for a less tart flavour)
  • 1/4-1/2 teaspoon probiotic powder, optional (you can empty probiotic capsules, if desired)
  • pinch of pink salt or fine grain sea salt
  • liquid sweetener to taste (I use 1 tablespoon natural cane sugar)

Directions:

  1. Add all ingredients into a high speed blender and blend on low, gradually increasing the speed to high, until super smooth. Keep blending until it’s not grainy anymore. Adjust sweetness to taste by adding sweetener if desired and blending again. I add a tablespoon of cane sugar and blend on high to pulverize it in my Vitamix.
  2. Spoon the yogurt into an air-tight container and chill in the fridge for at least a couple hours.
  3. Serve with granola and chia seed jam, parfait-style, if desired. Or simply enjoy alone. This yogurt is also great mixed into vegan overnight oats or added to smoothies! I’m not positive on the shelf life because we usually enjoy it within a couple days, but I imagine it lasts at least a few days in the fridge in an air-tight container.

Tip: In the photo, I made parfaits with strawberry-raspberry chia seed jam paired with a granola that I’m testing for my next cookbook (in the meantime, check out my Lightened Up Summer granola and the granola clusters in the Oh She Glows Cookbook)

coconutyogurtreciperaw-8778

Oh She Glows

Cherry-Strawberry Chia Seed Fool with Vanilla Bean Coconut Whipped Cream

cherrystrawberrychiaseedfool-9660

My sister and family are here visiting this week and they brought us about 10 pounds of freshly picked cherries from my brother-in-law’s parent’s house (they have about 7 cherry trees…jealous!). It was like Christmas morning when this loot arrived. I’m eating these beauties by the fist full. Adriana is going wild over them. It’s a good, ahem berry good, week. We pitted and froze a bunch to make 1-ingredient cherry sorbet in the Vitamix (my nephews loved it) and I’m dreaming up other ways to use them before they go bad!

cherrystrawberrychiaseedfool-9597

cherrystrawberrychiaseedfool-9608

This gorgeous Cherry-Strawberry Chia Seed Fool is a festive dessert I came up with for Canada Day tomorrow. I actually thought of it in the middle of the night last night and by some stroke of luck I remembered the idea this morning. In lieu of heavy dairy cream, I used full-fat coconut cream and whipped it with a touch of cane sugar and vanilla bean powder. So incredibly simple and delicious. For the berry part, I made a cherry-strawberry chia seed jam with maple syrup (does it get anymore Canadian?), vanilla bean, fresh lemon juice, and a secret ingredient – a teaspoon of finely grated beet for a bolder red color (but that’s totally optional). It turned out so lovely layered in parfait glasses. Many traditional fool recipes that I came across fold the berries into the cream until it’s pretty uniform in color, but I prefer the layered look so I did it my way. Then you can swirl it all together as you eat it. Total bliss! I also added some toasted sliced almonds and flaked coconut on top for some crunch. A little lemon zest would be nice too.

strawberrycherrychiaseedfoolvegan

cherrystrawberrychiaseedfool-9659

Cherry-Strawberry Chia Seed Fool

Vegan, gluten-free, grain-free, oil-free, soy-free

A vegan twist on the classic berry fool! I used whipped vanilla bean coconut cream and paired it with a delightful cherry-strawberry chia seed jam with lemon and vanilla. This dish requires some advance preparation so be sure to put the cans of coconut milk in the fridge the day before so the coconut cream can solidify. The jam also requires cooling, so you’ll need at least 2 hours to chill it in the fridge before layering the dessert.

Yield
6 parfaits
Freeze time
overnight + 3 hours
Prep Time
20 Minutes
Cook time
20 Minutes
Total Time
40 Minutes

Ingredients:

For the Coconut Whipped Cream
  • 2 (15-oz) cans full-fat coconut milk, chilled overnight
  • 2 tablespoons natural cane sugar, or to taste
  • 1/4 teaspoon pure vanilla bean powder or 1 vanilla bean, seeded
For the Cherry Strawberry Chia Seed Jam (makes 2 1/3 cups)
  • 2 heaping cups fresh or frozen strawberries (hulled if using fresh)
  • 3 cups fresh or frozen sweet cherries (pitted if using fresh)
  • 3-4 tablespoons pure maple syrup, to taste
  • 2 tablespoons chia seeds
  • pinch fine sea salt
  • 1 teaspoon pure vanilla extract or 1/2 teaspoon pure vanilla bean powder
  • 1-2 teaspoons fresh lemon juice, to taste
  • 1 teaspoon peeled and finely grated red beet (I use a microplane lemon zester), adds bolder red hue
Optional garnishes:
  • Toasted sliced almonds
  • Coconut Flakes
  • Lemon Zest
  • Fresh cherries

Directions:

  1. Chill the cans of coconut milk in the fridge for 12-24 hours so the coconut cream can solidify before use.
  2. For the chia seed jam: Add the berries and maple syrup into a medium saucepan. Stir to combine. Increase heat to medium, and simmer until the berries release their juices and soften, about 10 minutes. After the berries release water you can increase the heat even more to cook off the water. Watch closely and stir frequently. When the berries look a bit soft, stir in the chia seeds. Keep cooking over medium heat until the chia thickens the mixture slightly, about 5-10 more minutes.  Reduce heat if necessary to avoid burning. Remove from heat and stir in the salt, vanilla, lemon, and optional grated beet. Pour into a glass container and let it cool on the counter for at least 30 minutes before covering and chilling in the fridge for at least 2 hours, preferably longer.
  3. Chill a medium bowl in the freezer (this helps the coconut cream stay thick while whipping).
  4. Open the chilled cans of coconut milk and carefully scoop off the white coconut cream from each can and place it into a medium bowl. You should have 1.5-2 cups worth of cream. You can reserve the leftover coconut water for another use, such as a smoothie or you can freeze it into coconut water ice cubes (also great in smoothies).
  5. With electric mixers or a whisk, beat the cream and the cane sugar in the chilled bowl until smooth. Whisk in the vanilla.
  6. Layer the coconut cream and the chia jam in parfait glasses. Top with optional toasted sliced almonds, flaked coconut, lemon zest, and a cherry on top! Enjoy immediately or cover and transfer to the fridge until ready to serve. The chia seed jam will keep for up to a week in the fridge in an air-tight container, and I expect the coconut whipped cream will keep for at least 5 days.

Tip: If for some reason your chia seed jam didn’t thicken enough after chilling (this might be the case if the water wasn’t cooked off enough), stir in another tablespoon of chia seeds and chill it for another hour. That should do the trick!

cherrystrawberrychiaseedfool-9674

I’m keeping this short and sweet today because I have a big cookbook deadline looming. Thank you so much for your patience with my infrequent blog posts lately. I am dying to get back into it!

Wishing my fellow Canadians a very happy Canada Day tomorrow. Also, happy 4th of July to our friends south of the border. (By the way, you can easily turn this into a red, white, and blue dessert by adding blueberries.) I hope you have a fun and safe week filled with all the goodness summer has to offer!

Oh She Glows