You guys.
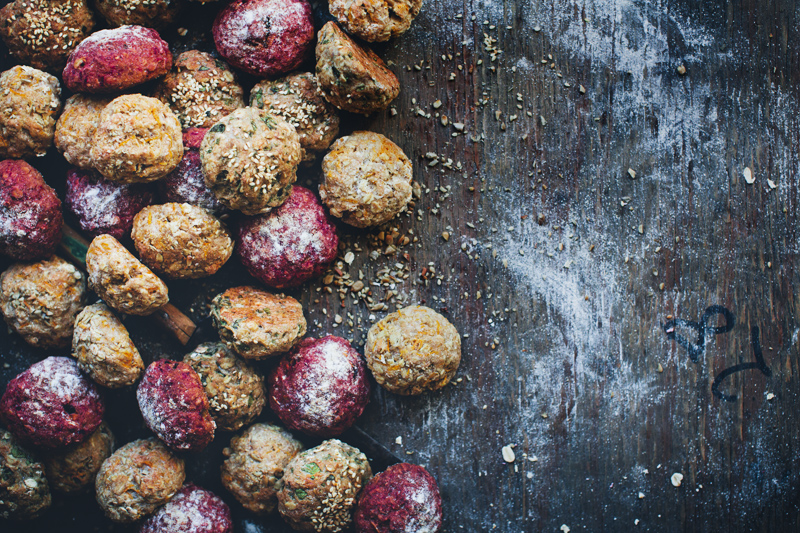
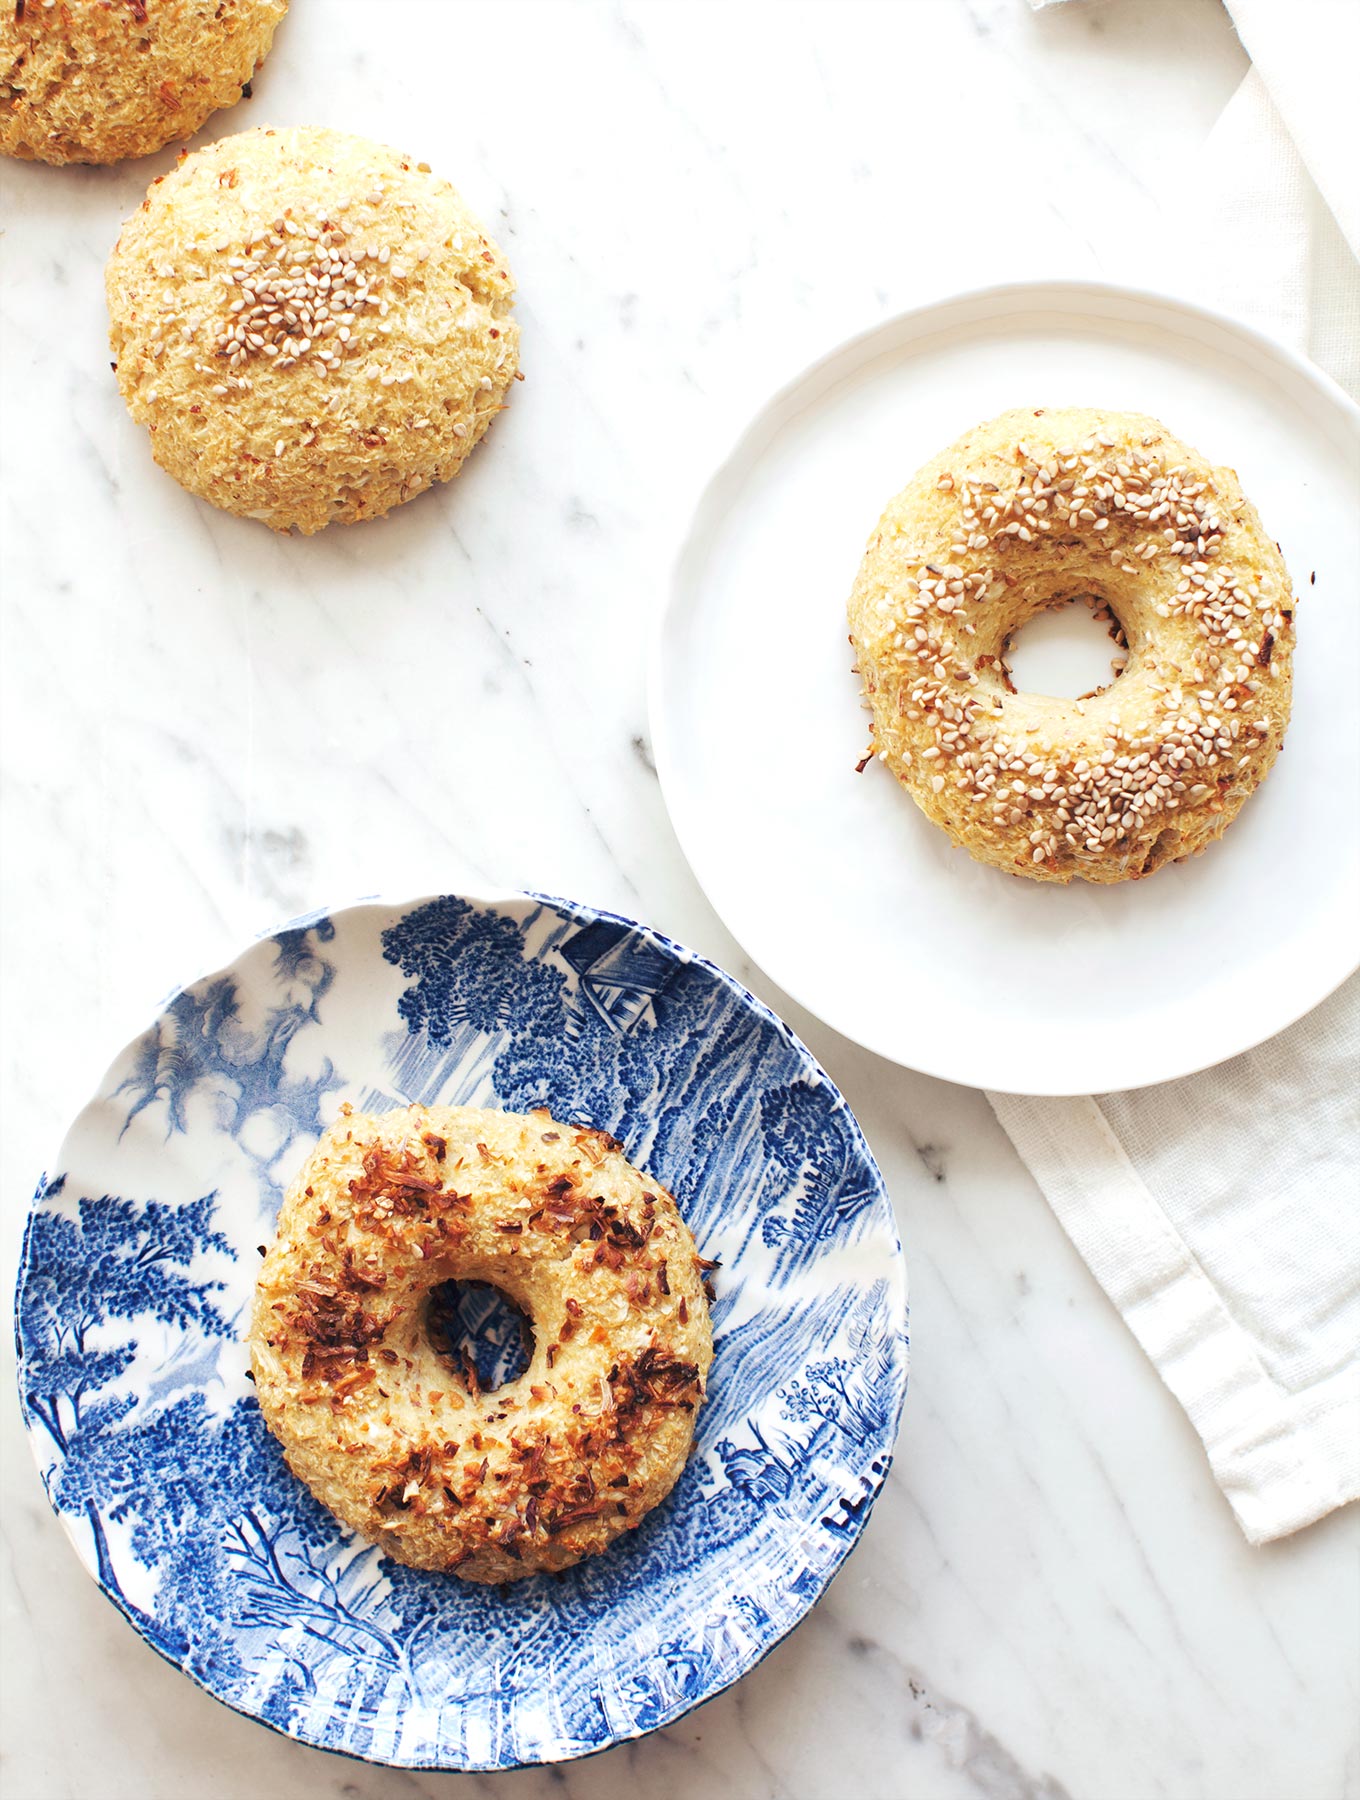
Cauliflower. Buns.
I am crazy stoked about this.
The idea for these simply brilliant, delicious, and totally surprising rolls came from my good friend Sophie, a vibrant, health-conscious lady that I actually met through my mother’s group. We quickly bonded over a shared love of cooking and raising healthy kids, so it didn’t take long before we were meeting up outside of the group for smoothie dates and trading kitchen secrets. A couple months ago she mentioned making bread out of blended cauliflower and I thought it was just about the neatest idea I’d heard in a while, especially since my son and I love starchy baked anything, and I’m always keen to have a wide range of options. I set out to make my own version and this was the happy result.
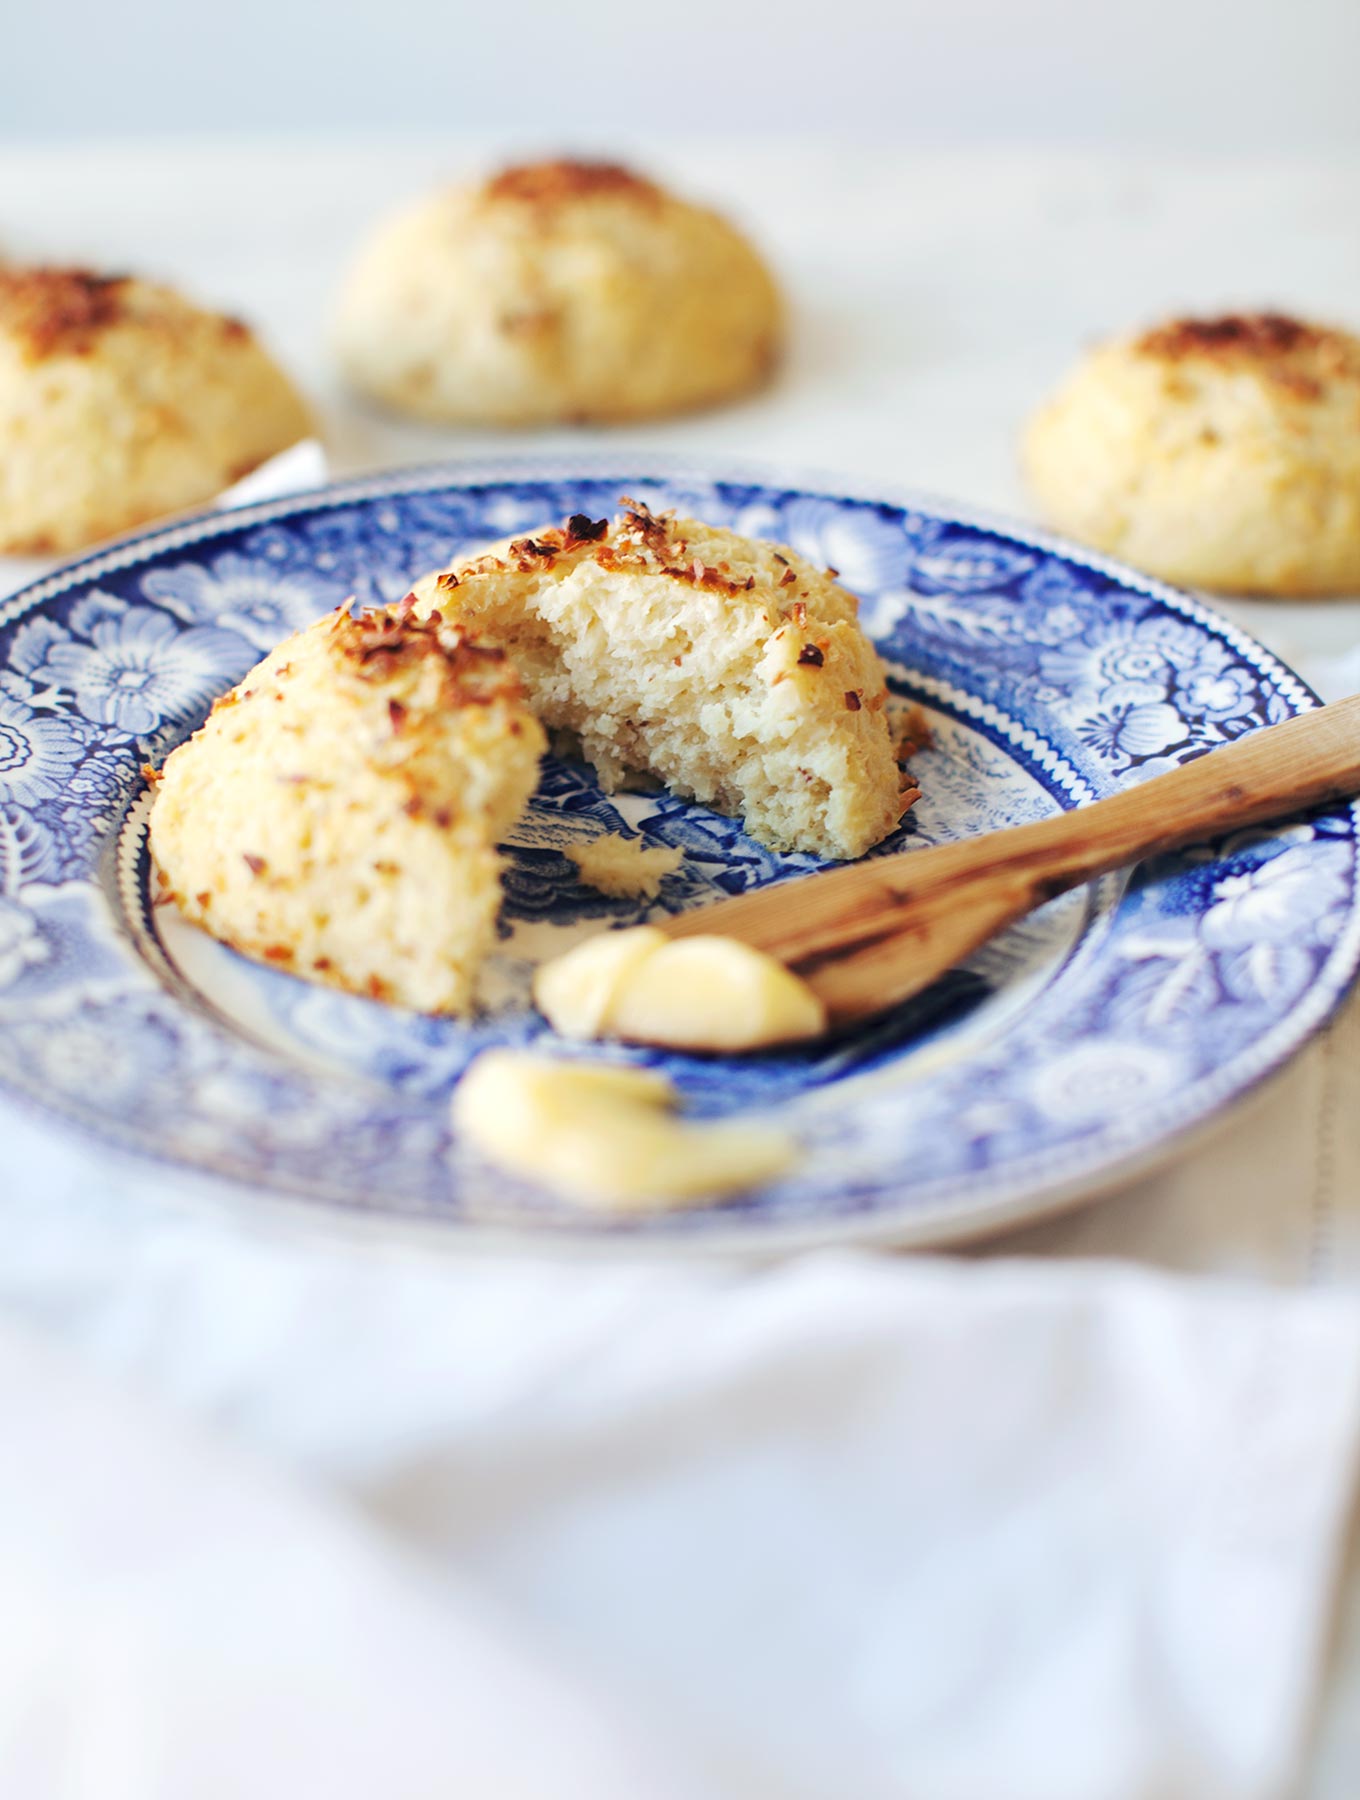
Despite being totally flour-free, these buns are surprisingly light and fluffy. They taste of cauliflower (or should I say, cauliflour? HA!), but the garlic powder takes them in a different direction so that you don’t feel like you’re just eating a ball of blended cruciferous. I added nutritional yeast as well, which lends a wonderful cheesiness along with its B-vitamins, and almond meal for protein, fat and flavour. A sprinkling of dried onions or sesame seeds on top also add a great taste and texture. The psyllium husk is not totally necessary, but the buns are a little drier with this addition, plus without it, they are nearly impossible to slice without breaking. I prefer them baked with just eggs – but I also like just scarfing these, no slicing please.
To answer the question many of you will inevitably ask me, yes, I made a vegan version of these, but sadly, they did not work. I replaced the eggs with psyllium husk exclusively and the buns practically melted into weird cauli-puddles (bizarro!). And as psyllium contributes a rather rubbery texture, I also found that using it as a binder instead of eggs yielded an unappetizing consistency – most certainly un-bread like. If any of you are up for the challenge, please experiment and let me know in the comments. I’d love to post a vegan alternative!
One thing I should bring up is that these buns, despite tasting really good even a few days after baking, begin to smell rather sulfuric (a.k.a. fart-y). I can’t even tell you the looks I got after opening my lunchbox stocked with cauliflower buns on an airplane a couple weeks ago. It wasn’t me! It was the buns! This is due to the naturally-occurring and health promoting sulfur in the cauliflower. Nothing to worry about, but I thought it begged mentioning so that you know what to expect, and don’t jump to the conclusion that the buns have spoiled. Or that you keep the buns in a tightly sealed container and open it in a confined public space.
If you can time your baking of these to serve with a meal, I suggest you do so, as they are so delicious fresh from the oven, cooled just slightly, with a slather of good-quality butter. Yes, butter. I’d go so far as to say that it’s important to the recipe because the buns have very little fat in them, so butter really takes the taste experience to the next level of yum.
Cauliflower Buns & Bagels
Makes 12-16 buns or bagels
Ingredients:
1 large cauliflower (1200g)
¼ cup / 20g almond meal
¼ cup / 20g nutritional yeast
1 ½ tsp. fine sea salt
½ tsp. garlic powder
2 large organic eggs
1 Tbsp. dried onions or sesame seeds
1 Tbsp. psyllium husk (optional, will make the buns drier)
Directions:
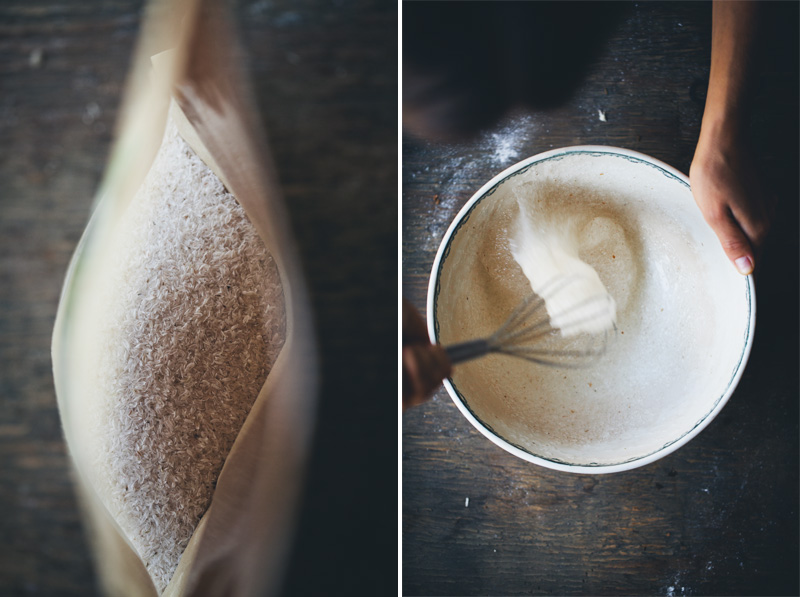
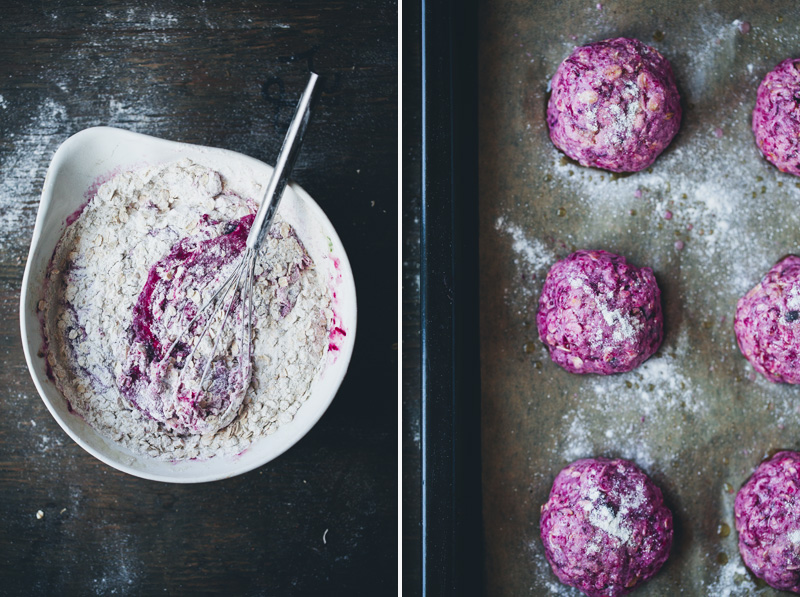
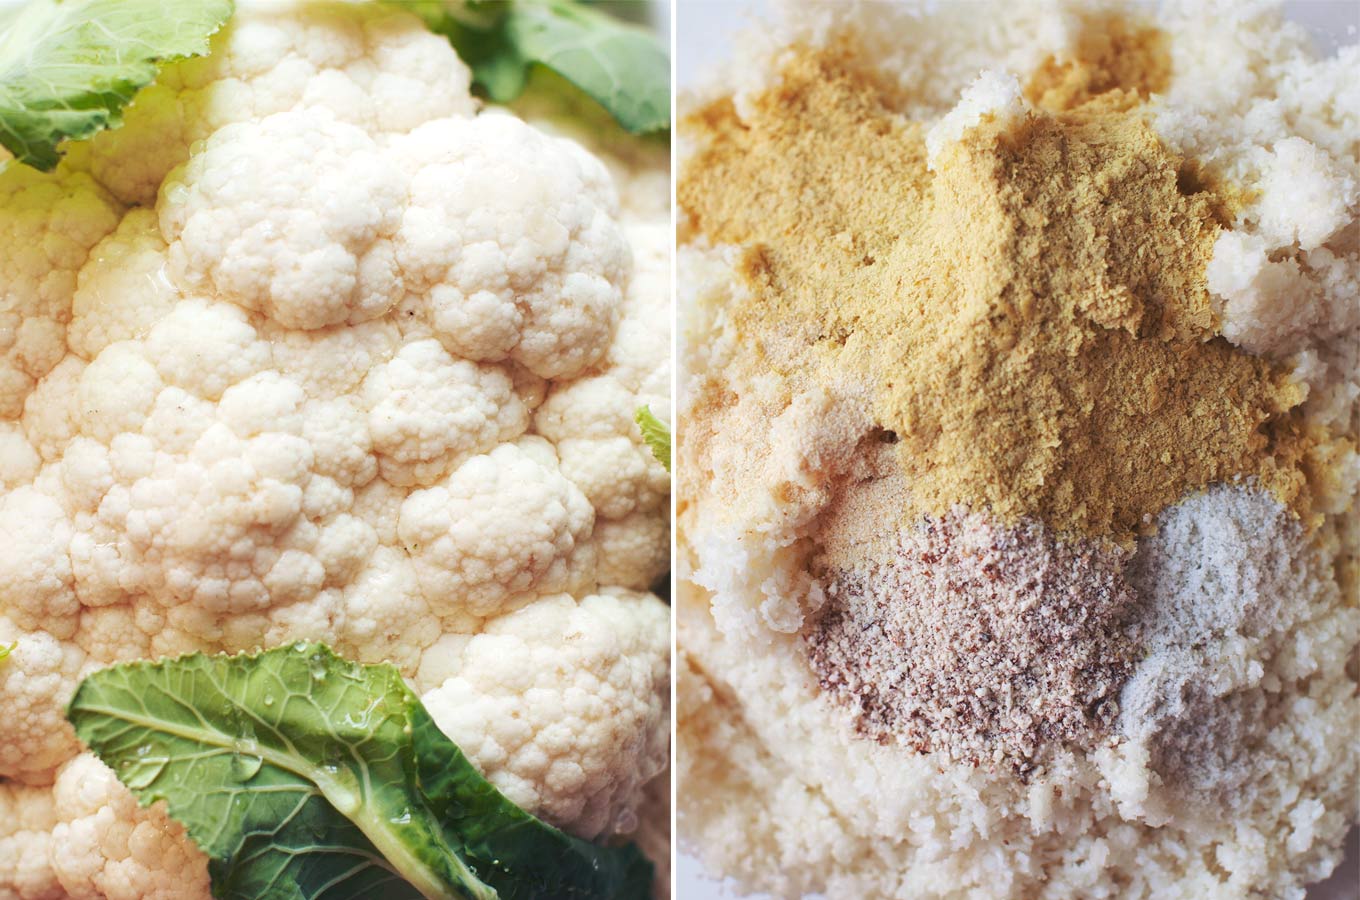
1. Wash and chop cauliflower into chunks. Place in a food processor and blend until as fine as possible (you may need to do this in several batches as the cauliflower won’t process if the machine is too full). Transfer cauliflower to a large mixing bowl. Add the almond meal, nutritional yeast, salt, garlic powder and psyllium husk, if using. Stir very well to combine.
2. Preheat oven to 400°F/200°C.
3. Whisk eggs together in a separate bowl. Add the eggs to the cauliflower mixture and stir until the “dough” is moist and will hold together.
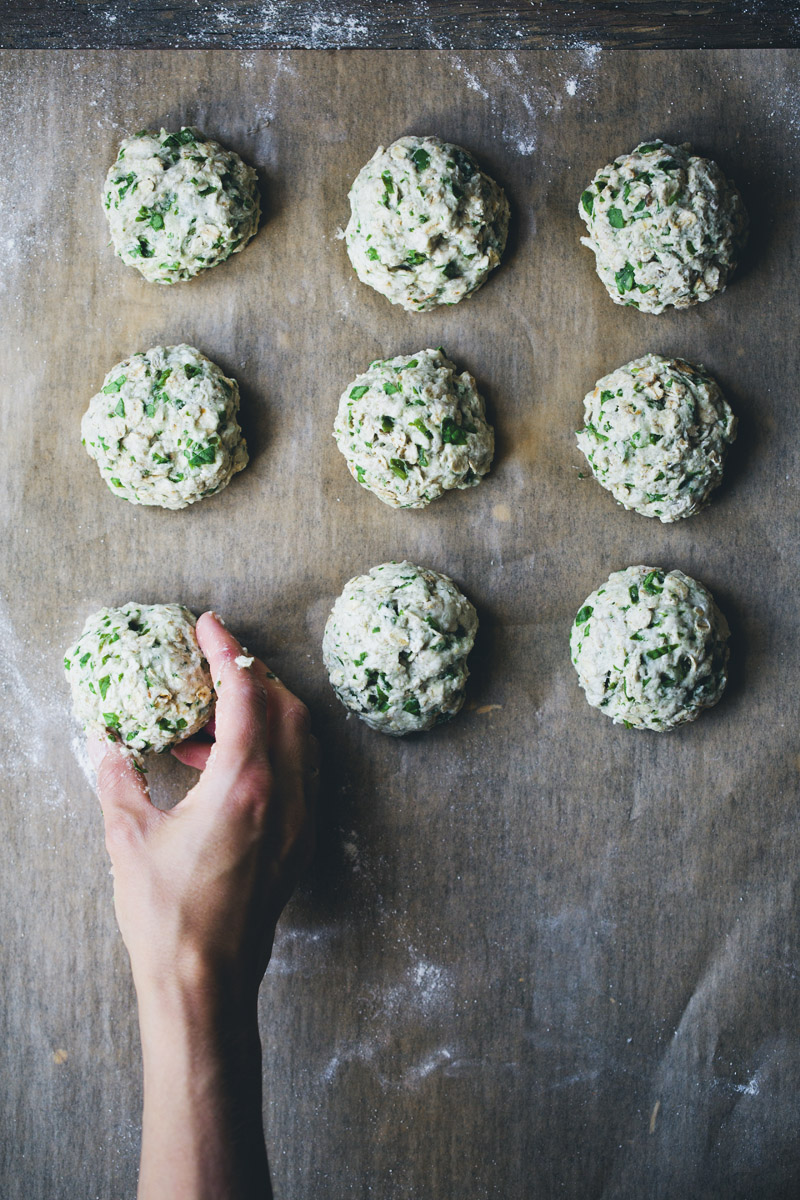
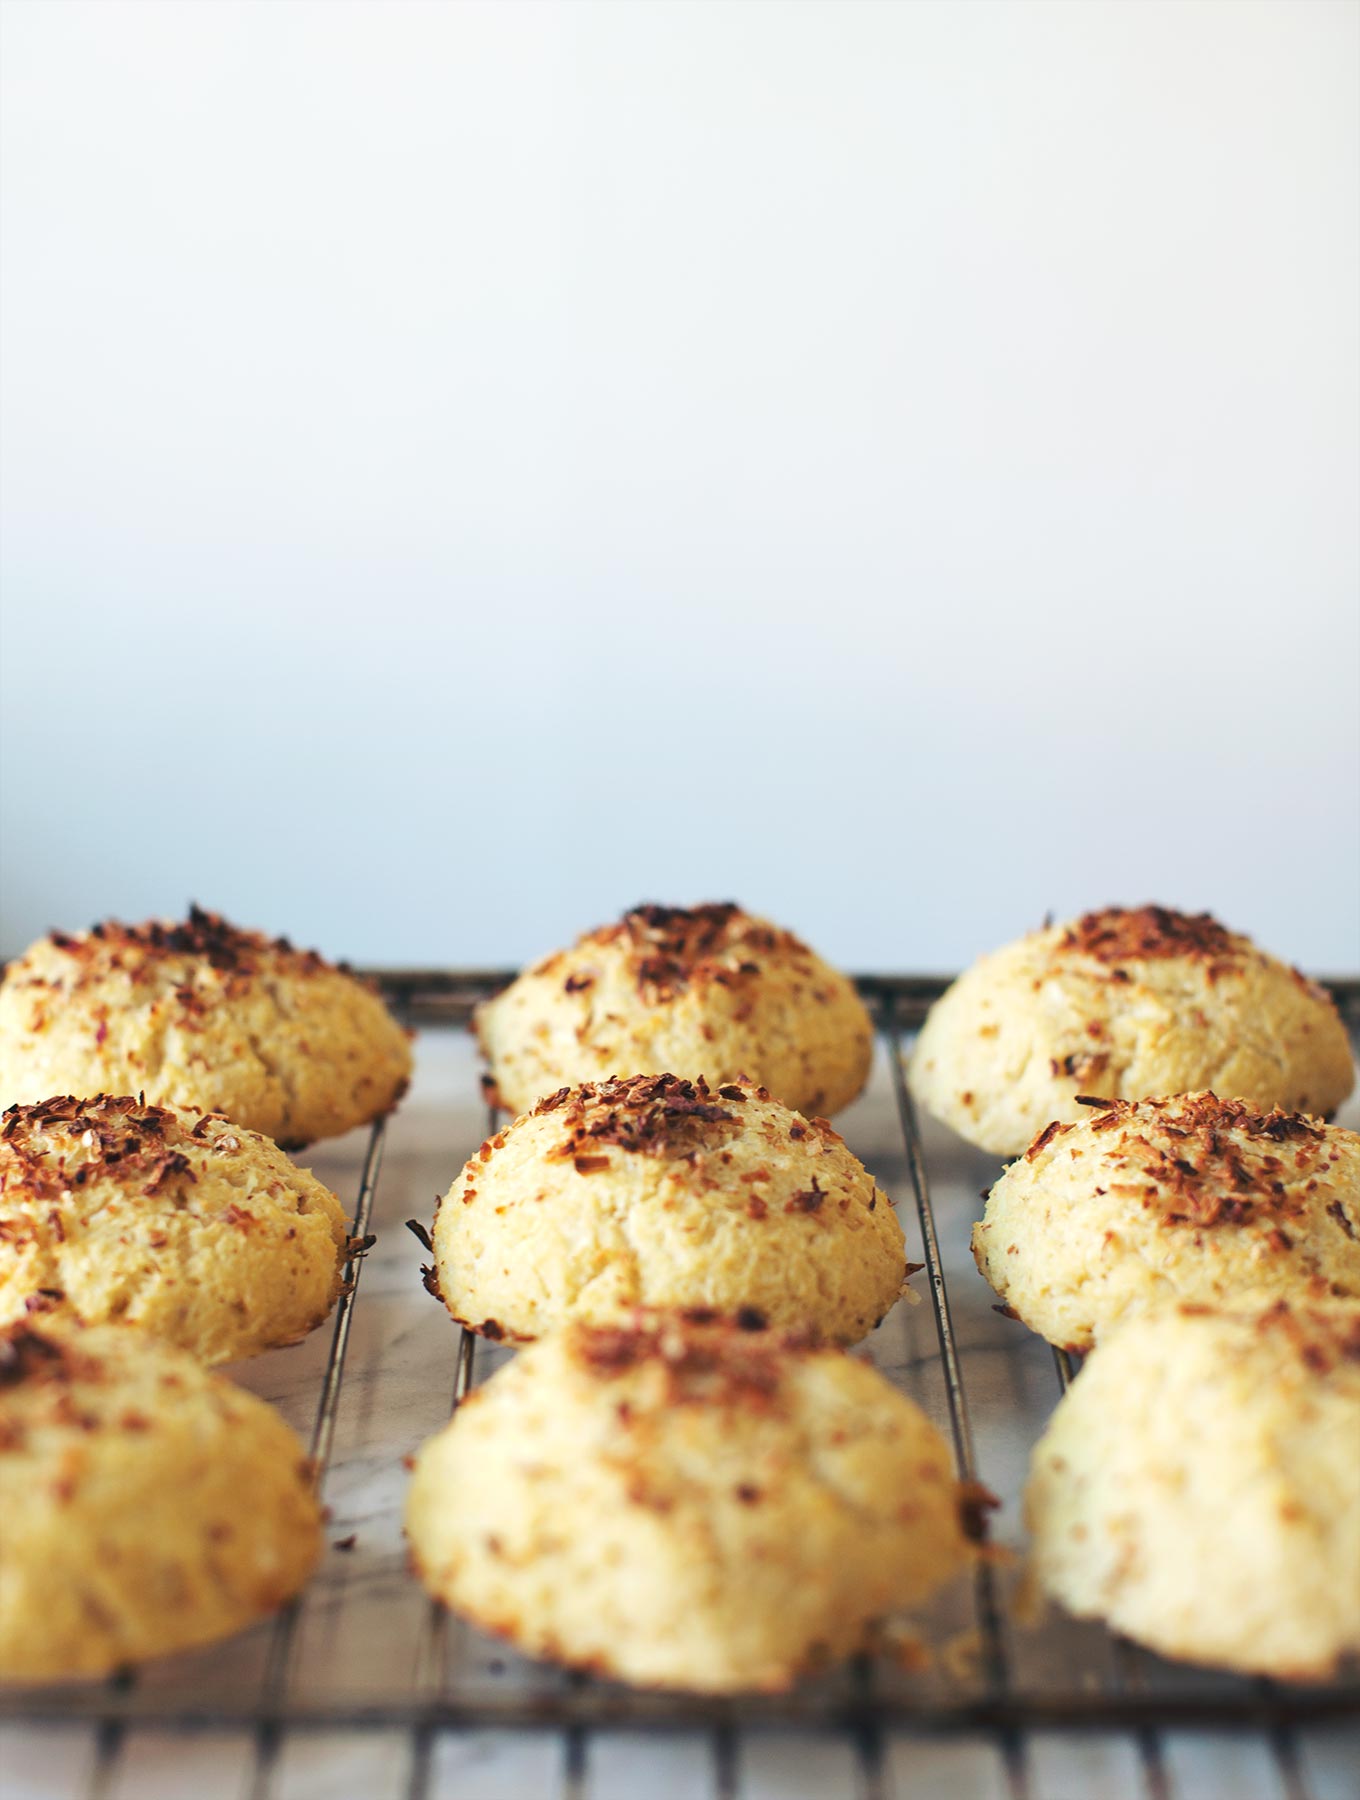
4. Line a baking sheet with parchment paper. Taking baseball-sized amounts of dough, squeeze them into a rough ball shape, then drop them from about 1 foot (30cm) onto the baking sheet (this helps to compact them). If you want to make bagels, simply use your finger to poke a hole in the center and shape the rest with your hands. Sprinkle the tops with the dried onion or sesame seeds and place in the oven. Bake for 20-30 minutes until the buns are golden brown around the edges. Enjoy warm with butter, and store leftovers in the fridge for 3-4 days.
Give this recipe a shot you guys – especially if you are skeptical!
Love and buns,
Sarah B
Show me your buns! #MNRcauliflowerbuns
* * * * * *
Hey guys! I have a couple new interviews up online if you’d like to check them out…
Remarkable Magazine
Psycle London