Pumpkin Pie Caramel Bars

Pumpkin_caramel_bars_1

And we arrrrre back! If you have read the updated version of our latest post, you know that last week was an exhausting one for us. We are sorry about the decision to pull that recipe but it made us so happy to read your cheering comments on instagram regarding honesty and transparency.

We promised you a new recipe soon, and this one surely delivers. It’s a two layer, pumpkin pie caramel bar covered in dark chocolate. It takes a little jiggling to cover the bar in chocolate and some waiting for the pumpkin layer to set, but apart from that, it is pretty straight forward. Instead of making a separate caramel layer, we chose to combine our favourite date caramel recipe with a simple pumpkin pie recipe and it just made the whole thing a lot easier. And of course mega-delicious. When eaten straight from the freezer it has proper ice cream texture, and when left an hour in room temperature the inside gets more caramel-like. Personally, I prefer it somewhere in between – when the pumpkin caramel is a little soft but still quite frozen.

Pumpkin_caramel_bars_2

We are not big on Thanksgiving celebrations here in Sweden but if we would arrange a Thanksgiving dinner, I think these would be optimal as a cold, sweet and modernised version of a pumpkin pie in between or after all the warm, savoury dishes.

I already mentioned that it can get a little messy when you cover the bars in chocolate. If chocolate-messy-fingers isn’t your thing, you can make Pumpkin Caramel Slices instead of bars by leaving the mixture in the tin and pouring the chocolate (3 oz / 80 g is enough) on top, so you get three visible layers instead of having the chocolate covering the sides. It’s a lot easier (but perhaps not as fun). Just remember to wait until the chocolate is firm before cutting up the slices.

Pumpkin_caramel_bars_3

Pumpkin Pie Caramel Bars
Makes 20 bars

Coconut base
5 fresh dates, pitted

1 tbsp coconut oil
1 scant cup /250 ml / 80 g desiccated coconut, unsweetened

Salted Pumpkin Caramel
½ cup / 70 g cashew nuts, pre-soaked for 3-5 hours
1 cup / 250 ml / 220 g canned pumpkin puree or homemade (see note how to make it)

4 tbsp tahini
4-6 tbsp drinking water
4 tbsp coconut oil
10 soft dates, pitted
1/2 tsp cinnamon
1/4 tsp ginger
1 pinch cloves
1/2 tsp flaky sea salt

150 g / 5 oz dark chocolate, 70%.

Add dates and coconut oil to a food processor and mix on high speed until you get a sticky paste. Add the coconut and mix again until all is combined. Line a 4 x 8 inch / 10 x 20 cm loaf tin with parchment paper and scoop the coconut mixture into it. Use your palm to flatten out coconut tightly into one thin base layer and then place the tin in the freezer while creating the pumpkin caramel.

Add all the pumpkin caramel ingredients to a blender or food processor and mix on high speed until smooth. Start with 4 tbsp water and then add a splash more if the mixture is too thick to blend. When completely smooth, taste and add more salt or dates if needed. Take out the tin from the freezer and scoop the pumpkin caramel on top of the coconut base. Use a spatula to smooth out the surface or knock the tin against the table a few times to get it even. Place back into the freezer for at least three hours or until completely firm.

Use a knife to carefully flip the frozen mixture out of the tin. Trim the sides for more even looking bars then use a sharp knife to cut 20 bite-sized pieces, about 1 x 2 inches / 2,5 x 5 cm, that you spread out on a parchment paper (or place back into the freezer while melting the chocolate).

Melt chocolate in a water bath (here is a simple instruction video).Use a spoon to spread the chocolate evenly around each bar or simply pour the chocolate over them (or a combination of the both), leave the bottom uncovered. You can dip the bars straight into the chocolate but if you are not careful with the chocolate’s temperature, the cold bars will chill the chocolate which makes it harder to handle. Try to keep the bowl of chocolate over the water bath until the last bar is covered to ensure that the chocolate is evenly tempered and thus easier to handle.

Store the bars in the freezer and eat chilled or slightly thawed.

Homemade Pumpkin Puree
Preheat the oven to 200°C / 400°F and line a baking tray with parchment paper. Cut one 1 small Hokkaido pumpkin or Butternut Squash into quarters, scoop out the seeds and fibrous strings and place cut-side down on the baking tray. Bake for approx. 25-45 minutes (depending on the size of the pumpkin) or until the skin is golden and bubbled and the flesh is tender. Set aside to cool. Spoon the flesh of the pumpkin into a food processor and process on a high speed until completely smooth. Store in the fridge in an airtight container for up to five days or in the freezer. Apart, from these bars, the puree can be used in Pumpkin Pie, Pumpkin Soup or the Pumpkin Waffles from Green Kitchen Travels.

Pumpkin_caramel_bars_4

Green Kitchen Stories

Peanut Butter Granola Bars with Dark Chocolate

Peanut Butter Granola Bars with Chocolate | http://naturallyella.comPeanut Butter Granola Bars | http://naturallyella.comPeanut Butter Bars | http://naturallyella

If there’s one thing that might be apparent, we have a slight addition to peanut butter and chocolate in our household. I’m more of a 3 parts chocolate to one part peanut butter ratio while M is the exact opposite: a lot of peanut butter with just enough chocolate to be noticed.

During pregnancy, these no-bake cookies (minus the espresso) were pretty much my life saver when I was craving something chocolatey. However, I wanted to make something that was a little more easy to keep and freeze (and a bit more along M’s line of acceptable peanut butter to chocolate ratio). These granola bars are a culmination of granola bar recipes of past, no bake cookies, and a rice puff treat from a local co-op that’s base is peanut butter and brown rice syrup. The result is this bar that comes together easily, isn’t overly sweet, and can easily act as a satisfying dessert.

See the Recipe.

The post Peanut Butter Granola Bars with Dark Chocolate appeared first on Naturally Ella.

Naturally Ella

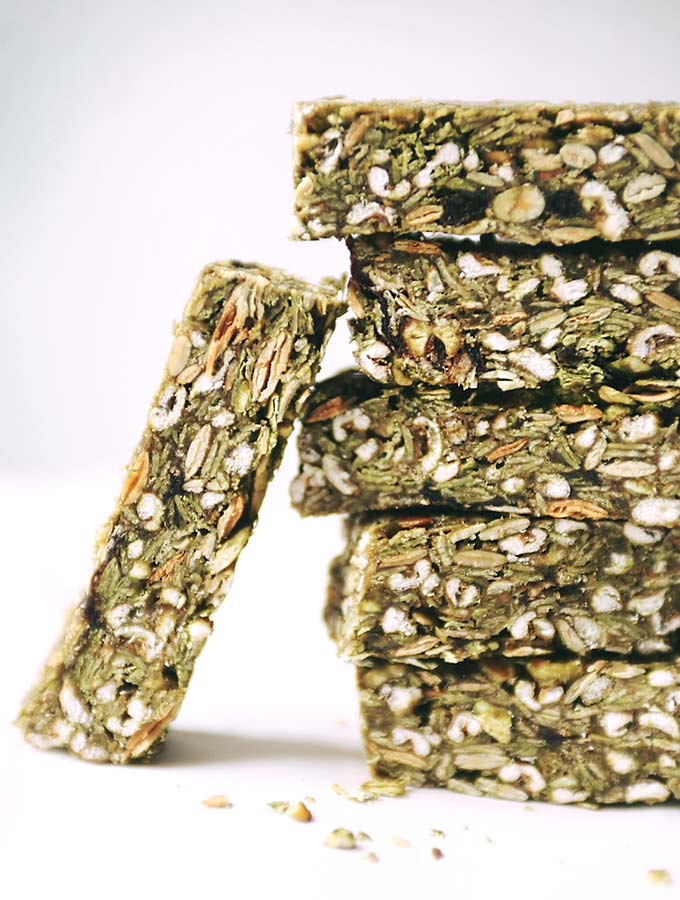
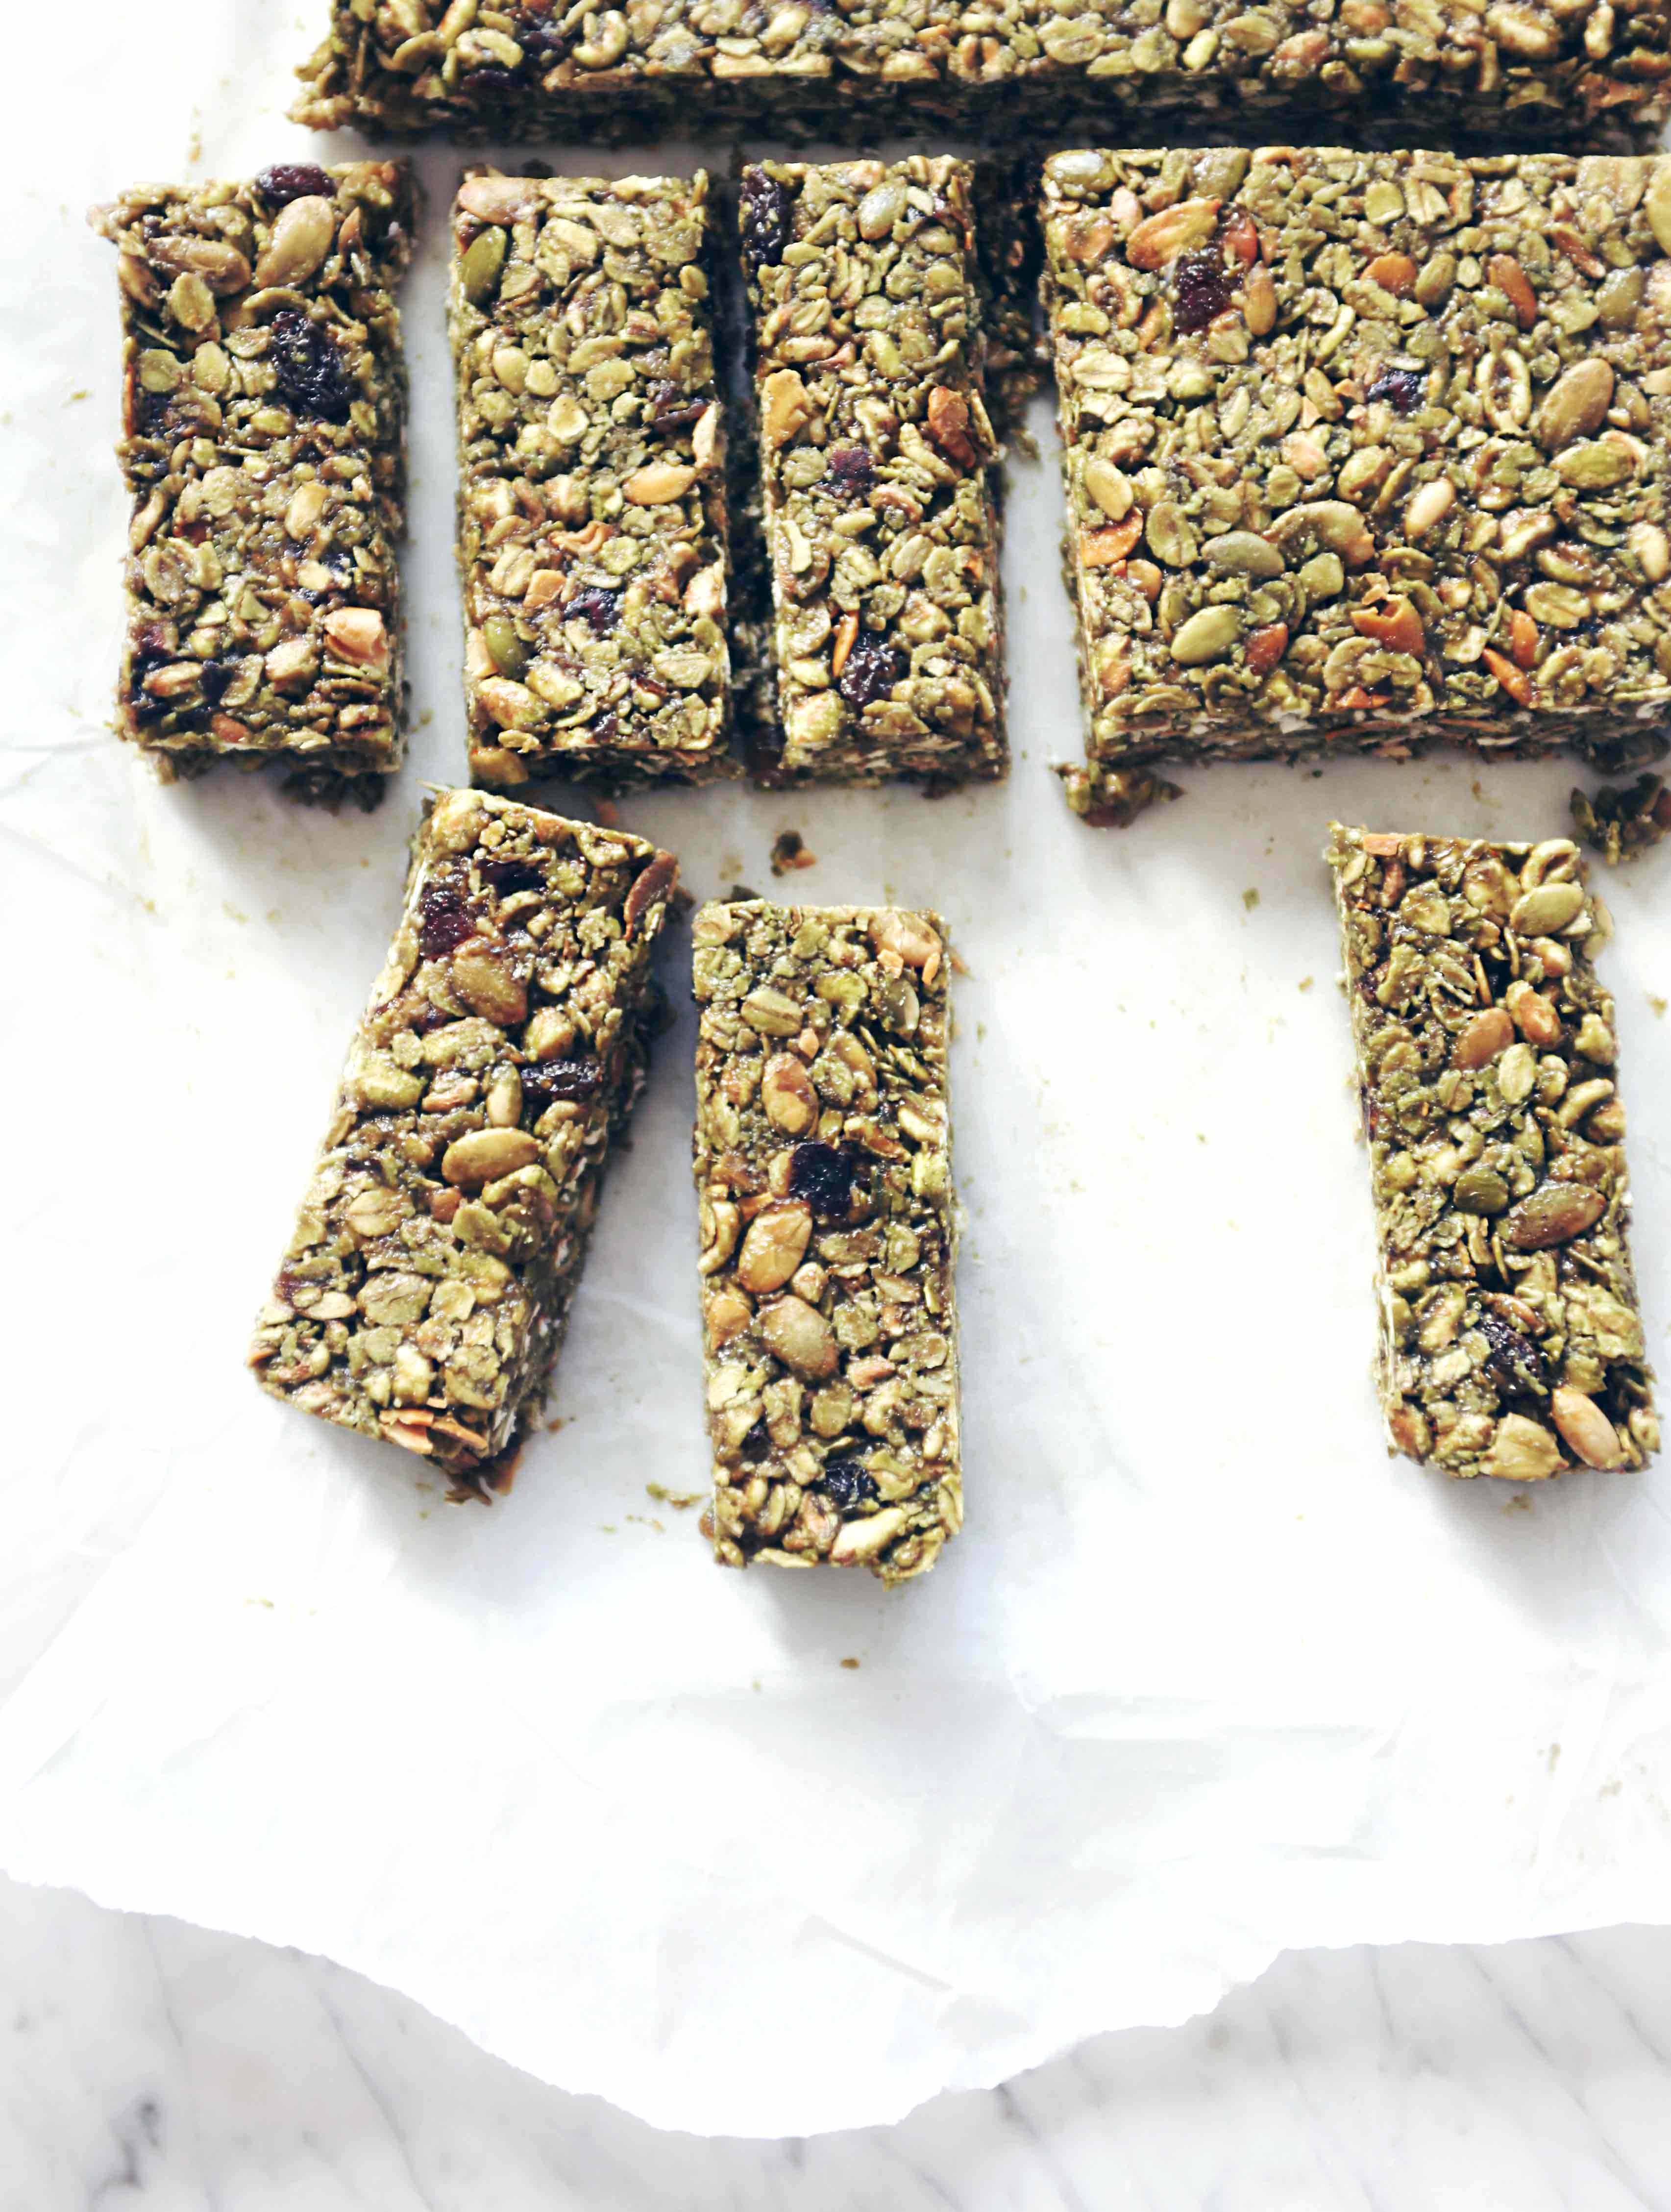
Matcha Green Granola Bars

matcha

I have to start off by saying THANK YOU.

I just came back from my cookbook tour in London, which is the very last trip I’m taking until the autumn. Now that I have some time to reflect, I have to say how deeply touched and grateful I am to all of you that have showed your support these past few months. Whether you’ve come out to an event, book signing, cooking class, reposted a recipe on your own blog, sent me a love note, or happy vibes through the ether, I have felt it all and will carry the collective experience with me always. I mean it. I am officially overwhelmed with love.

It’s been a very fulfilling time for me, but if I’m being honest, it’s also been a very challenging one. Being on the road and away from my sweet little family has been hard, despite being surrounded by so much goodness. My workload has also been full-on at the same time, so there hasn’t been much in the way of breaks, or breathing, or looking after myself at all. As someone who is perpetually beating the drum of balance, wellness, and self-love, I am beginning to feel like a hypocrite! And how can I expect to be the best I can be for everyone else if I can’t take care of my precious self?

So in the name of practicing what I preach, I’m introducing My New Roots Summer Lights again – all new delicious, healthy recipes, just without the lengthy article. As it takes an average of 20 hours to create a single blog post, shaving a few off of that will give me some time to regain a little more sanity in my life. And maybe even inspire some of you to do the same.

So. These granola bars. They are really, really yummy. Satisfying in all the ways that count; filling without making you feel full, and a salty-sweet flavor balance to make you feel like you’ve gotten everything you need. Maybe more. I have been relying heavily on these to fill the 11am / 4pm gap, avoid late night bad food decisions, and I’ve mowed down a couple (maybe more) for my personal favourite: breakfast-in-a-taxi/airplane/subway/train. Hey, at least I get to sit down.

matcha2

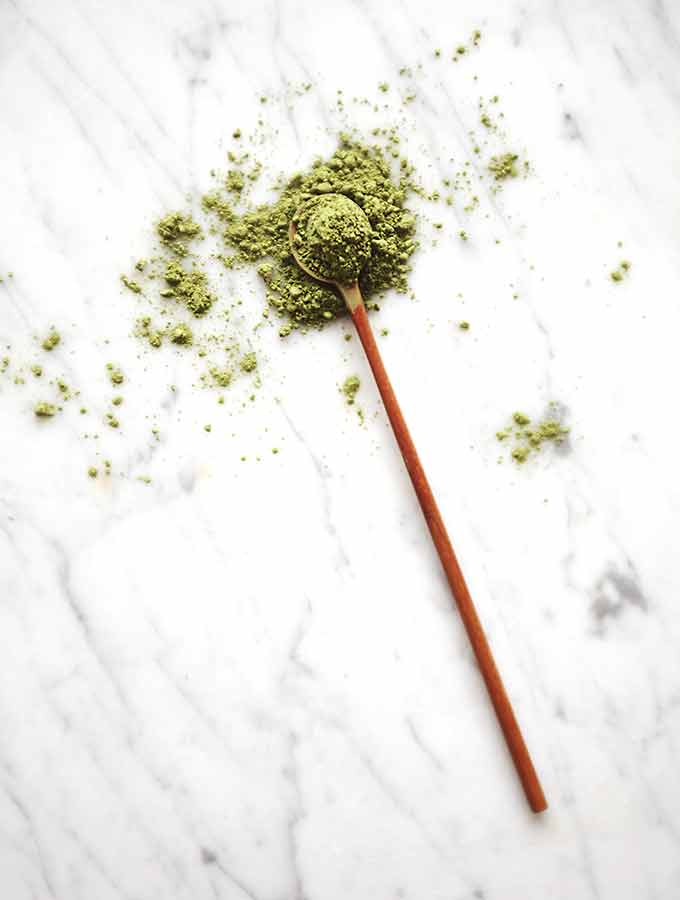
The matcha green tea powder is of course what makes the granola bars green. It has a lovely tea-like flavor (thank you, captain obvious), and a nice little bitter nuance that I dig. But because matcha is a bit of a specialty item that can be hard to find and so darn expensive, the you can of course omit it entirely. Maybe sprinkle in another kind of superfood powder if you have it (lucuma, maca, baobab, raw cacao), cocoa powder, or protein powder, or whatever else you’re in the mood for. The point is, these are flexible and simple, and a great granola bar base recipe for you to play with. Party on.

The brown rice syrup makes the granola bars ooey-gooey, but because it isn’t overly sweet, I poured in a few tablespoons of maple syrup for good measure. If you are not vegan, you could replace the maple syrup with honey, but I wouldn’t replace the rice syrup with honey because then these would be way too sweet. Just sayin’.

If your tahini is unsalted, add a little more salt to the dry ingredients – I promise that you want the salty-sweet thing going on here. And if you have an allergy to sesame, or feel like something different, use another kind of nut or seed butter instead – hazelnut butter would be divine, pumpkin seed butter too, or combo it up, wild cat! 

matcha4

So dear friends, I’m wishing you a very healthy, happy summer full of crazy adventures, (responsible) sun-worshipping, belly laughs, and of course, delicious food.

I love you!
xo, Sarah B


My New Roots

Sarah B’s Breakfast (Cookie) Bars

Breakfast_bars_1

I am guessing that Sarah B from My New Roots hardly needs any introduction? She is one of the most inspiring voices on the plant-based recipe scene, always with a smile and a smoothie on hand. Her way of reinventing traditional dishes into healthier versions of themselves is downright amazing. And if that wasn’t enough, she is one of the nicest and most positive persons we have met.

Her long awaited cookbook has the same concept as the blog, but is printed on beautiful paper and with the recipes divided into seasons (five of them!). There are plenty of inspiration for all flavours here and we have lots of dog-eared recipes yet to try. If you enjoy our type of cooking, you are going to love this book. It’s a gem.

Breakfast_bars_2

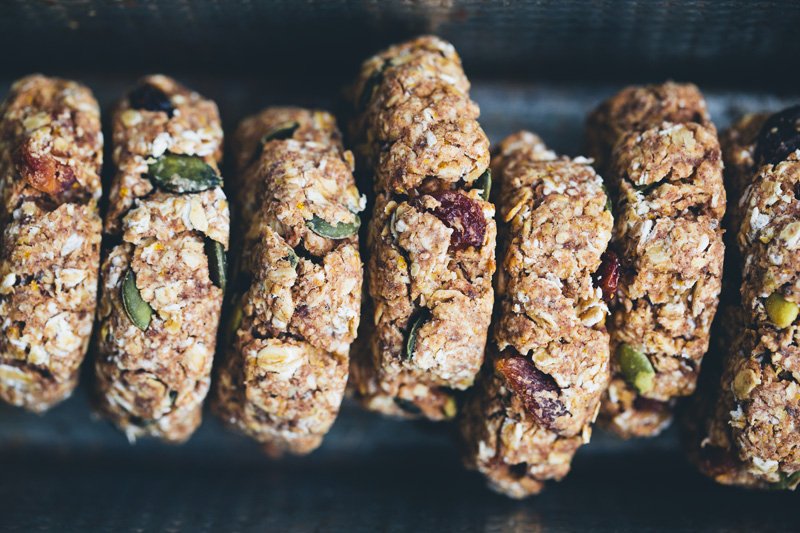
I am not sure why we chose to feature this exact recipe, a more colourful one would probably be more representative for the book. I guess we were intrigued by the thought of eating giant shaped cookies for breakfast. The fact that they are vegan and had a can of white beans in them, probably also sparked our curiosity.

Sarah writes that its time to ditch the plastic packaged breakfast bars as they are filled with too much stuff that doesn’t do us any favours. Her bars (or cookies) are loaded with whole-food fiber, protein, healthy fats, real fruit, and as we mentioned above, even beans.

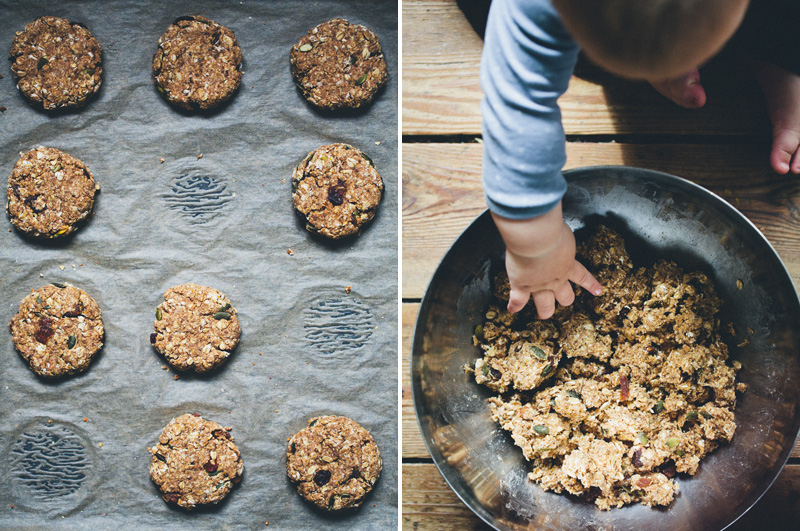
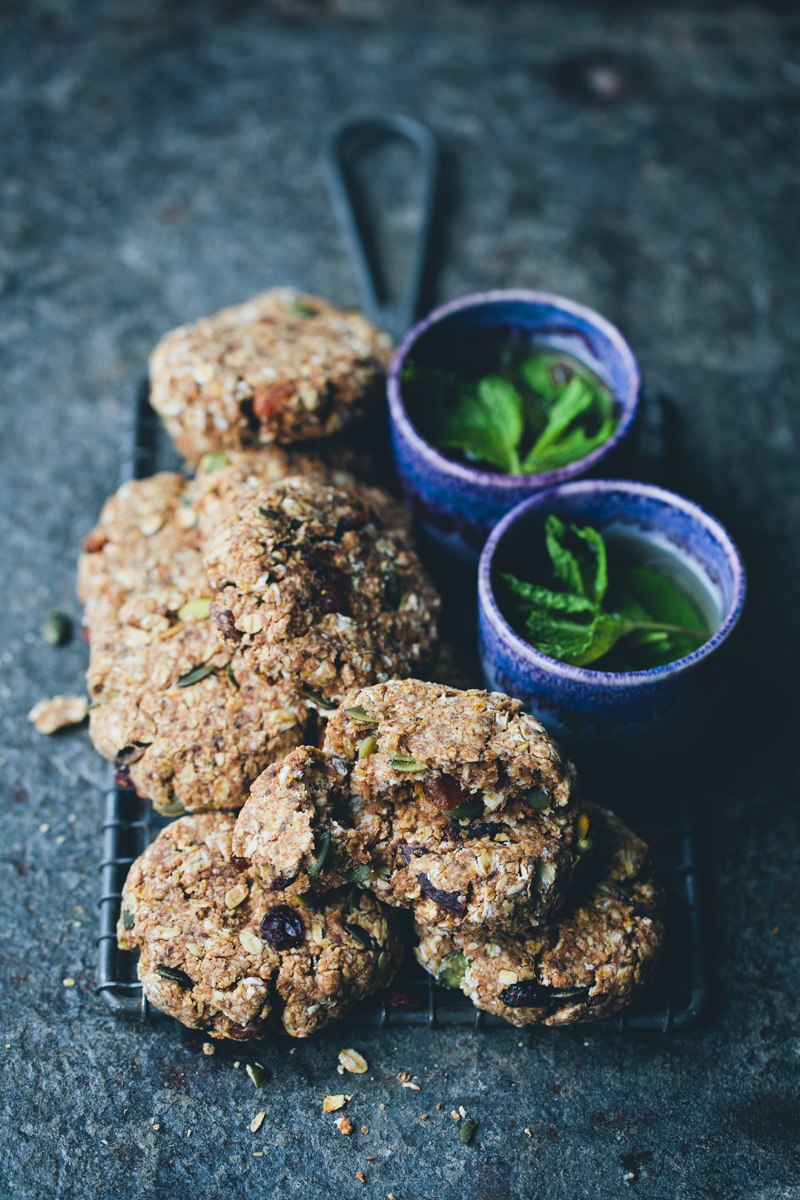
We have already made these quite a few times. They taste really delicious with a hint of orange. Even though they seemed a little crumbly to us at first, they held together very well when baked. We find them perfect to make for a pantry cleaning, as almost any kind of nuts, seeds and dried fruit can be added. We also made one version where we subbed the maple syrup with a ripe banana and two dates. Baby Isac loves them too, and since they are filled with so much good stuff, we love making them for him.

Breakfast_bars_3

Breakfast_bars_4

Fully Loaded Breakfast Bars (Recipe from My New Roots: Inspired Plant-Based Recipes for Every Season)
Makes 10 large bars (although we make our bars slightly smaller than Sarah and get 12 bars from one batch.)

1 tablespoon chia seeds
3 1⁄4 cups / 325 g gluten-free rolled oats
1 teaspoon baking powder
1 teaspoon baking soda
2 teaspoons ground cinnamon
1 teaspoon fine sea salt
1 1⁄2 cups / 250 g cooked white beans, such as navy, white kidney, or Great Northern (about one 15-ounce / 250 g can)
1⁄4 cup / 60 ml coconut oil, melted
1⁄4 cup / 60 ml pure maple syrup or raw honey
Grated zest of 1 organic orange
1⁄4 cup / 60 ml unsweetened applesauce
1 teaspoon vanilla extract
1⁄3 cup / 60 g chopped unsulphured dried apricots
1⁄4 cup / 30 g  raisins
1⁄4 cup / 35 g pumpkin seeds
2 cups / 60 g organic, non-GMO cornflakes (optional)

Preheat the oven to 350°F / 180°C. Line a baking sheet with parchment paper and set it aside.
Combine the chia seeds with 3 tablespoons water in a small bowl, and set aside for 15 minutes to gel.
Pulse 1 1⁄4 cups / 125 g of the oats in a food processor until they resemble a very rough flour. Transfer the flour to a large mixing bowl and whisk in the remaining 2 cups / 200 g oats, baking powder, baking soda, cinnamon, and salt.
Pulse the beans with the coconut oil in the food processor until the mixture is creamy. Add the maple syrup, orange zest, chia gel, applesauce, and vanilla extract, and pulse until smooth.
Pour the bean puree over the oats mixture and stir until everything starts to come together. Add the apricots, raisins, pumpkin seeds, and cornflakes and stir to combine—you may need to use your hands at this point.
Shape the dough into 10 equal balls, and then flatten each one into a patty shape. Transfer them to the prepared baking sheet. Bake for 15 to 18 minutes, until the bars are golden. Let cool completely before enjoying. The bars can be stored in an airtight container at room temperature for 1 week, or in the freezer for up to 1 month.

*************

farehealthy-poster_1200

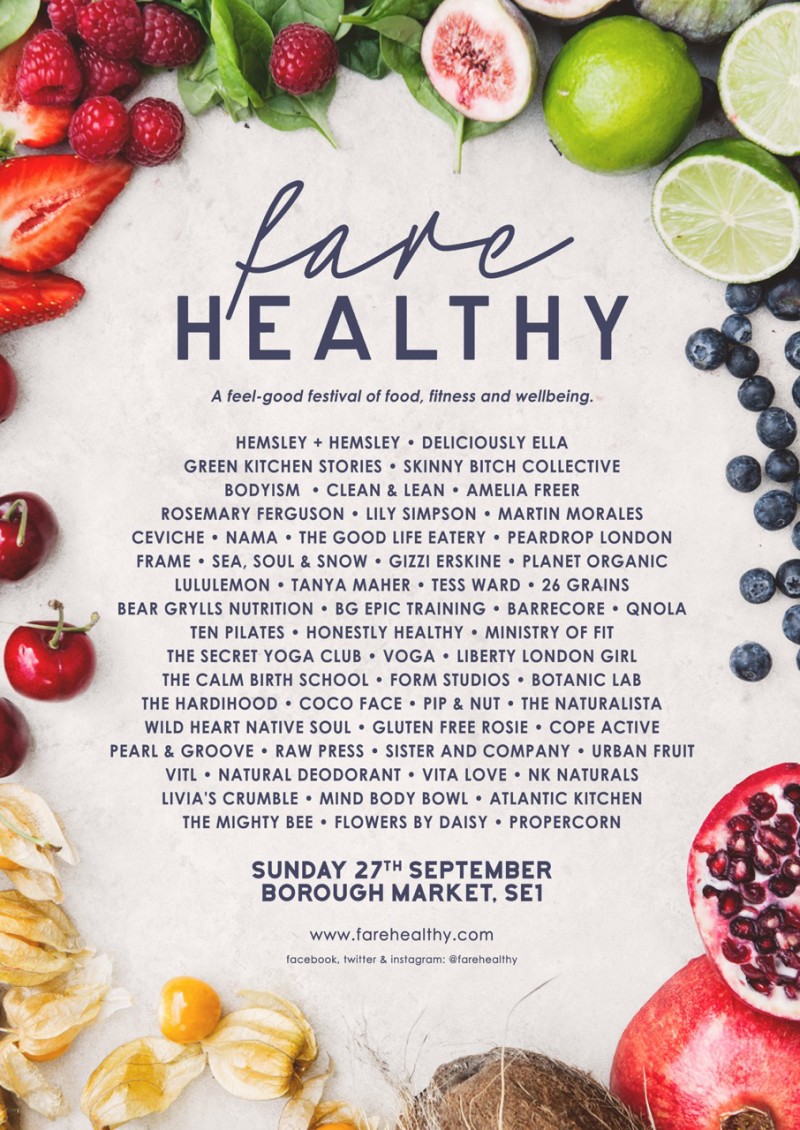
PS! We are coming to London last weekend of September for two different events. We will be talking at the Food Blogger Connect conference at Chiswick House on Friday 25th and Saturday 26th September. We are also excited to be talking and cooking at the Fare Healthy festival at Borough Market on Sunday 27th September. Check out their websites for tickets and more info.

Green Kitchen Stories