This post has literally been years in the making. After countless requests for a kombucha brewing method and recipe, I finally feel confident enough to write about such a HUGE topic. Considering the fact that there are entire books about this one subject, I’ll start off by saying that I do not consider myself a kombucha-brewing expert. Although I’ve brewed hundreds of liters of the stuff by now, I am still learning and just happy to share my processes and experiences with you so far. Everyone has a slightly different way of brewing and this is mine – it works perfectly for me and I hope for you too!
Making kombucha, like any “kitchen project” seems pretty daunting until you actually do it. Once you take the first step and brew your own batch, you won’t believe how simple and easy it is to make your own kombucha and be able to drink it every day of your life! You’ll also wonder why you waited so long to start. With just a 20-minute time investment every 7-10 days you’ll have access to the most delicious, high-vibe kombucha you’ve ever tasted at a faction of the cost of buying from the store. Plus, if you make it yourself, it will be 100% raw and full of those precious, digestion-supporting enzymes that our diets are typically lacking, whereas commercial kombucha has often been pasteurized – a process that destroys enzymes. You can ferment it to suit your taste, make it as fizzy as you desire, and even add flavourings. How rad is that?
What is Kombucha?
Although kombucha is experiencing a major surge in popularity, it has actually been around for thousands of years. It is essentially sweetened tea, fermented with the help of a SCOBY, transformed into a fizzy, effervescent drink. SCOBY is an acronym, which stands for Symbiotic Culture Of Bacteria and Yeast. It’s an odd-looking thing – often compared to an organ, a slippery mushroom, or a rubbery pancake – but it’s the essential ingredient in making the miracle beverage that is kombucha. Its flavours can range from pleasantly vinegar-y to champagne-like, with sweetness varying according to the original brew and second fermentations.
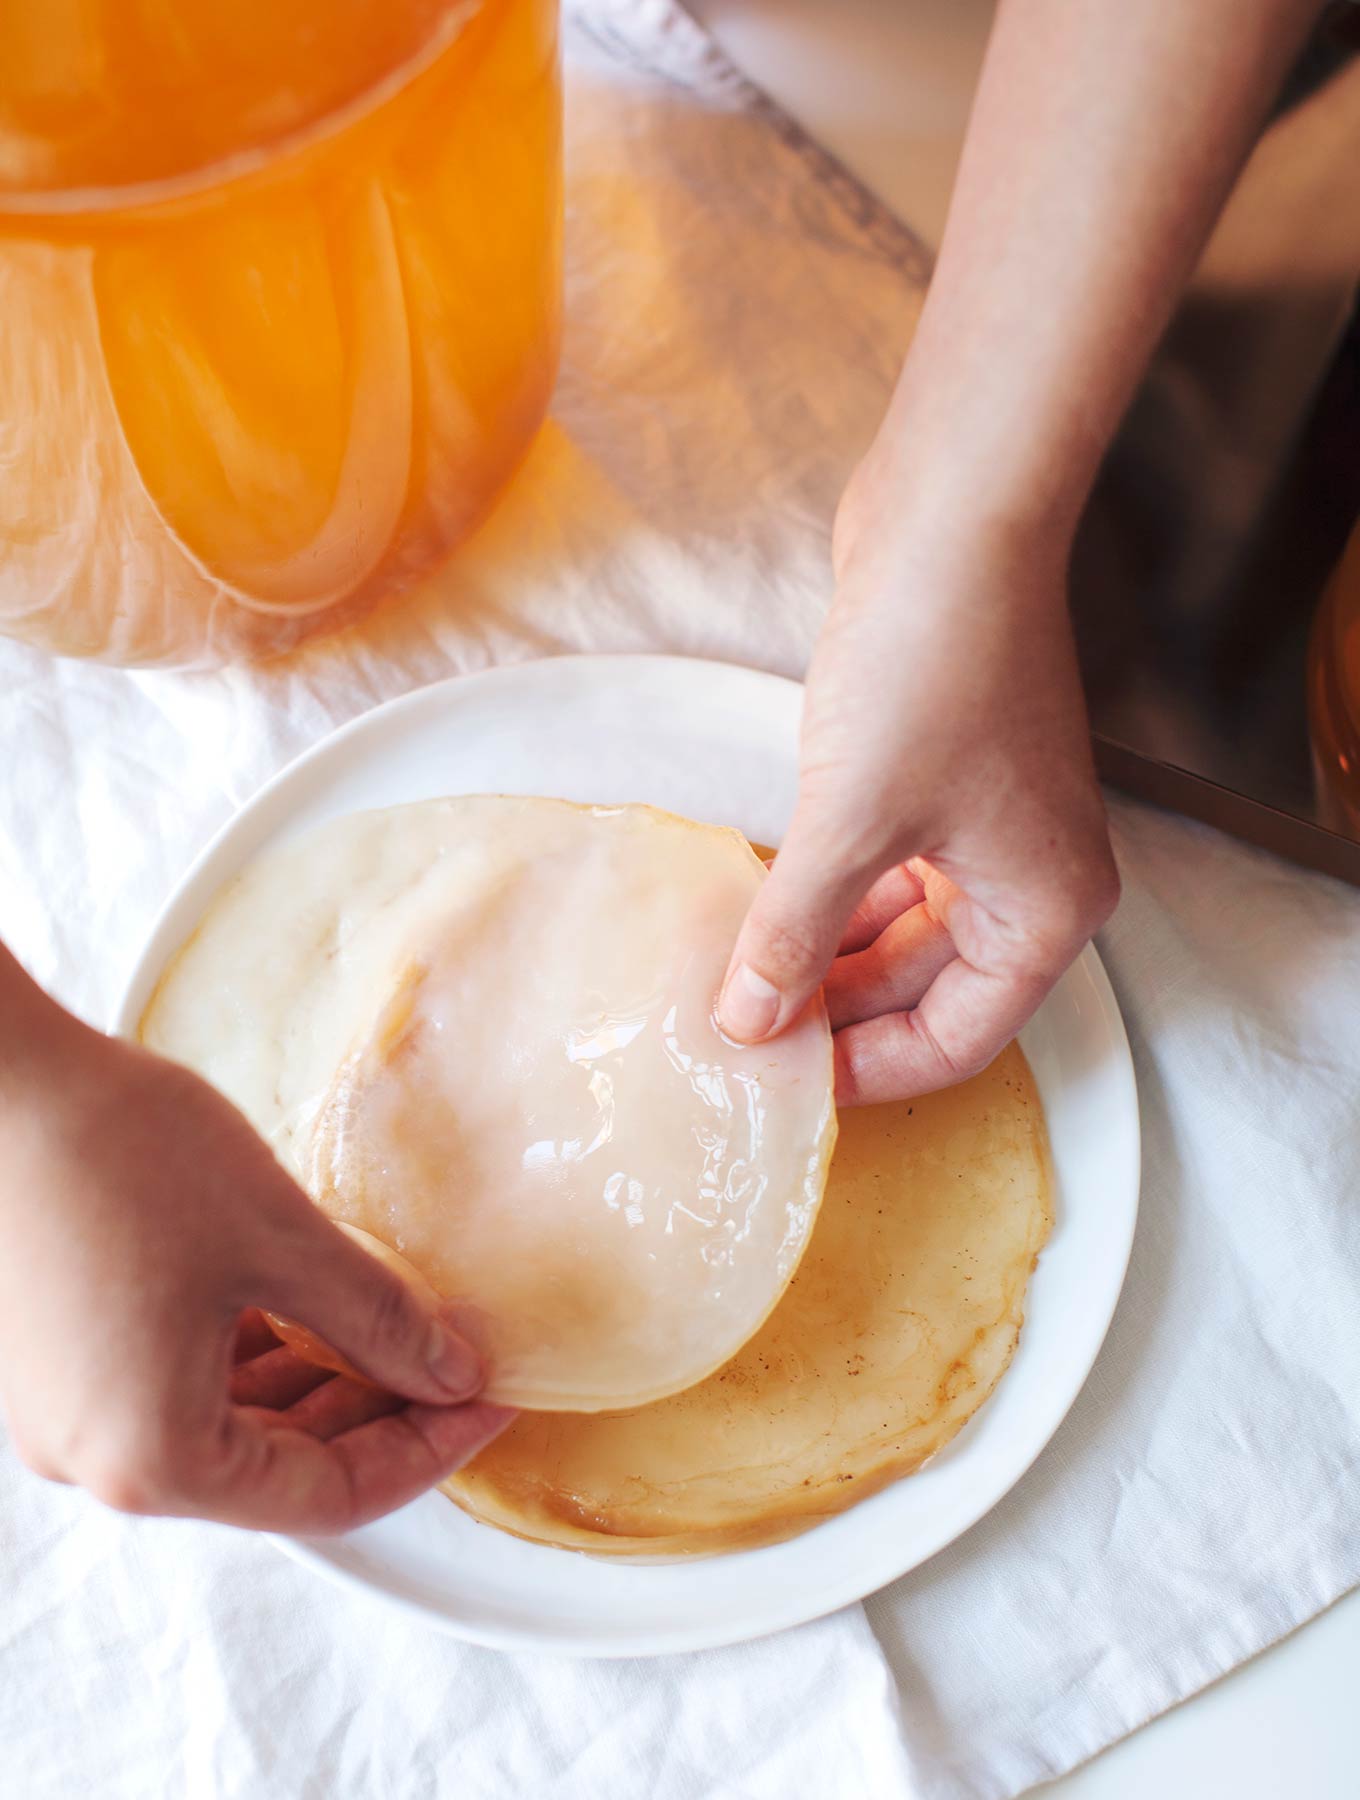
Where can I get a SCOBY?
Since the SCOBY duplicates every time you make kombucha, there are plenty out there in the world for free! I recommend asking at your local health food store – in my experience it seems like the place to either purchase one, or connect with someone who brews and enjoys spreading the kombucha gospel and giving their extra SCOBYs away. Alternatively, try your local Craigstlist to find a culture. You can even buy them online. Here is a worldwide source: www.kombu.de
What about sugar?
Yes, you need sugar to brew kombucha but that doesn’t mean that you’ll be consuming it – it’s only food for the SCOBY! What starts off as very sweet tea completely transforms through the fermentation process, and that SCOBY turns all of that food into a delightful mixture of beneficial organic acids, B-vitamins, and enzymes. If it’s something you are concerned about, just let your kombucha ferment for the full 10 days, or longer. The longer the tea ferments the less sugar it contains. Usually by day 10 there isn’t a trace left – but your tea will be rather acidic-tasting just so you know!
There are a few types of sugar you can use for feeding the SCOBY, but cane sugar is the most recommended by seasoned brewers. I use the least processed form of cane sugar I can find – organic evaporated cane juice – but even the most sugar-avoiding, health-conscious people I know brew with refined white sugar. Remember: the sugar feeds the SCOBY, not you!
What about caffeine?
The caffeine range in kombucha is extremely broad, and is mostly dependent on the type of tea used to brew it. Black tea contains substantially more caffeine than green tea for instance, and since I am sensitive to caffeine, I always brew with green tea. In general, brewed kombucha will contain approximately 1/3 of the caffeine of the original tea. If black tea contains 30-80mg of caffeine per cup, the same sized up of kombucha would contain 10-25mg. Green tea kombucha may have just 2-3mg per cup. Whatever you do, do NOT use decaffeinated tea to brew kombucha. Instead, blend the black tea with green tea or simply use green tea alone.
What about alcohol?
Fermenting anything sweet with yeasts is going to produce booze, that is just nature! With kombucha you’re looking at an average of 0.5 – 1% alcohol by volume. With home-brewing, there is always a risk of more alcohol forming since it is in an uncontrolled environment, so keep that in mind if that is a concern for you or someone you are serving it to.
What are the health benefits of Kombucha?
First, kombucha is a probiotic drink, so it is an excellent beverage for improving digestion, and supporting healthy bacteria in the gut. Its high enzyme content also promotes healthy digestion and nutrient assimilation.
Lab tests show that kombucha has antiviral, antibacterial, and antifungal properties, and the ability to improve liver function and reduce oxidative stress in the body. Many people report success in relieving their symptoms of arthritis, allergies, chronic fatigue, hypertension, metabolic disorders, and digestive issues.
What I think is very exciting and promising about kombucha however, are the acids formed during fermentation. These acids have incredible detoxifying and antioxidant capabilities. Glucuronic acid, for example, is the body’s most important detoxifier and made by the oxidation of glucose. Glucuronic acid binds to toxins in the liver and flushes them out through the kidneys. It also works in conjunction with gluconic acid, which binds with heavy metals and ushers them out of our systems. Acetic acid inhibits the action of harmful bacteria. Usnic acid protects against viruses through its antibiotic properties. Malic acid helps detoxify the liver. Butyric acid is produced by the beneficial yeasts in kombucha and protects cellular membranes and combines with gluconic acid to strengthen the walls of the gut to combat harmful yeasts such as candida albicans.
Of all the healthy habits I’ve adopted in my life, I’d say that drinking kombucha has actually made a difference in how I feel. Every time I take a sip it feels like every cell of my body is screaming YAAAAAHHHHHSSSSSS! Really and truly. To me, it is life elixir, and a fabulous drink to add to your healthy lifestyle. But I will also say that kombucha is not a panacea. The hype around this beverage has reached astronomical heights and I believe it’s important to consume kombucha without the expectation that it’s going to change your life. What works for me, may work for you and it may not. At the end of the day, kombucha is purely delicious and I think it’s best to enjoy it for that reason alone.
Can I drink too much kombucha?
Kombucha, like anything, should be enjoyed responsibly. Just as you wouldn’t eat a pound of chia seeds in a sitting, nor should you drown yourself in kombucha (although it would be a delicious way to go). If you have never had kombucha before, start out with about half a cup (125ml) and work your way up over the course of a few weeks or months. I probably drink around 1-2 cups a day (250 – 500ml) but my body is used to it and I too eased into this amount. Remember: food is medicine! You never know how your body will react, so it’s best to take things slow with such powerful potions.
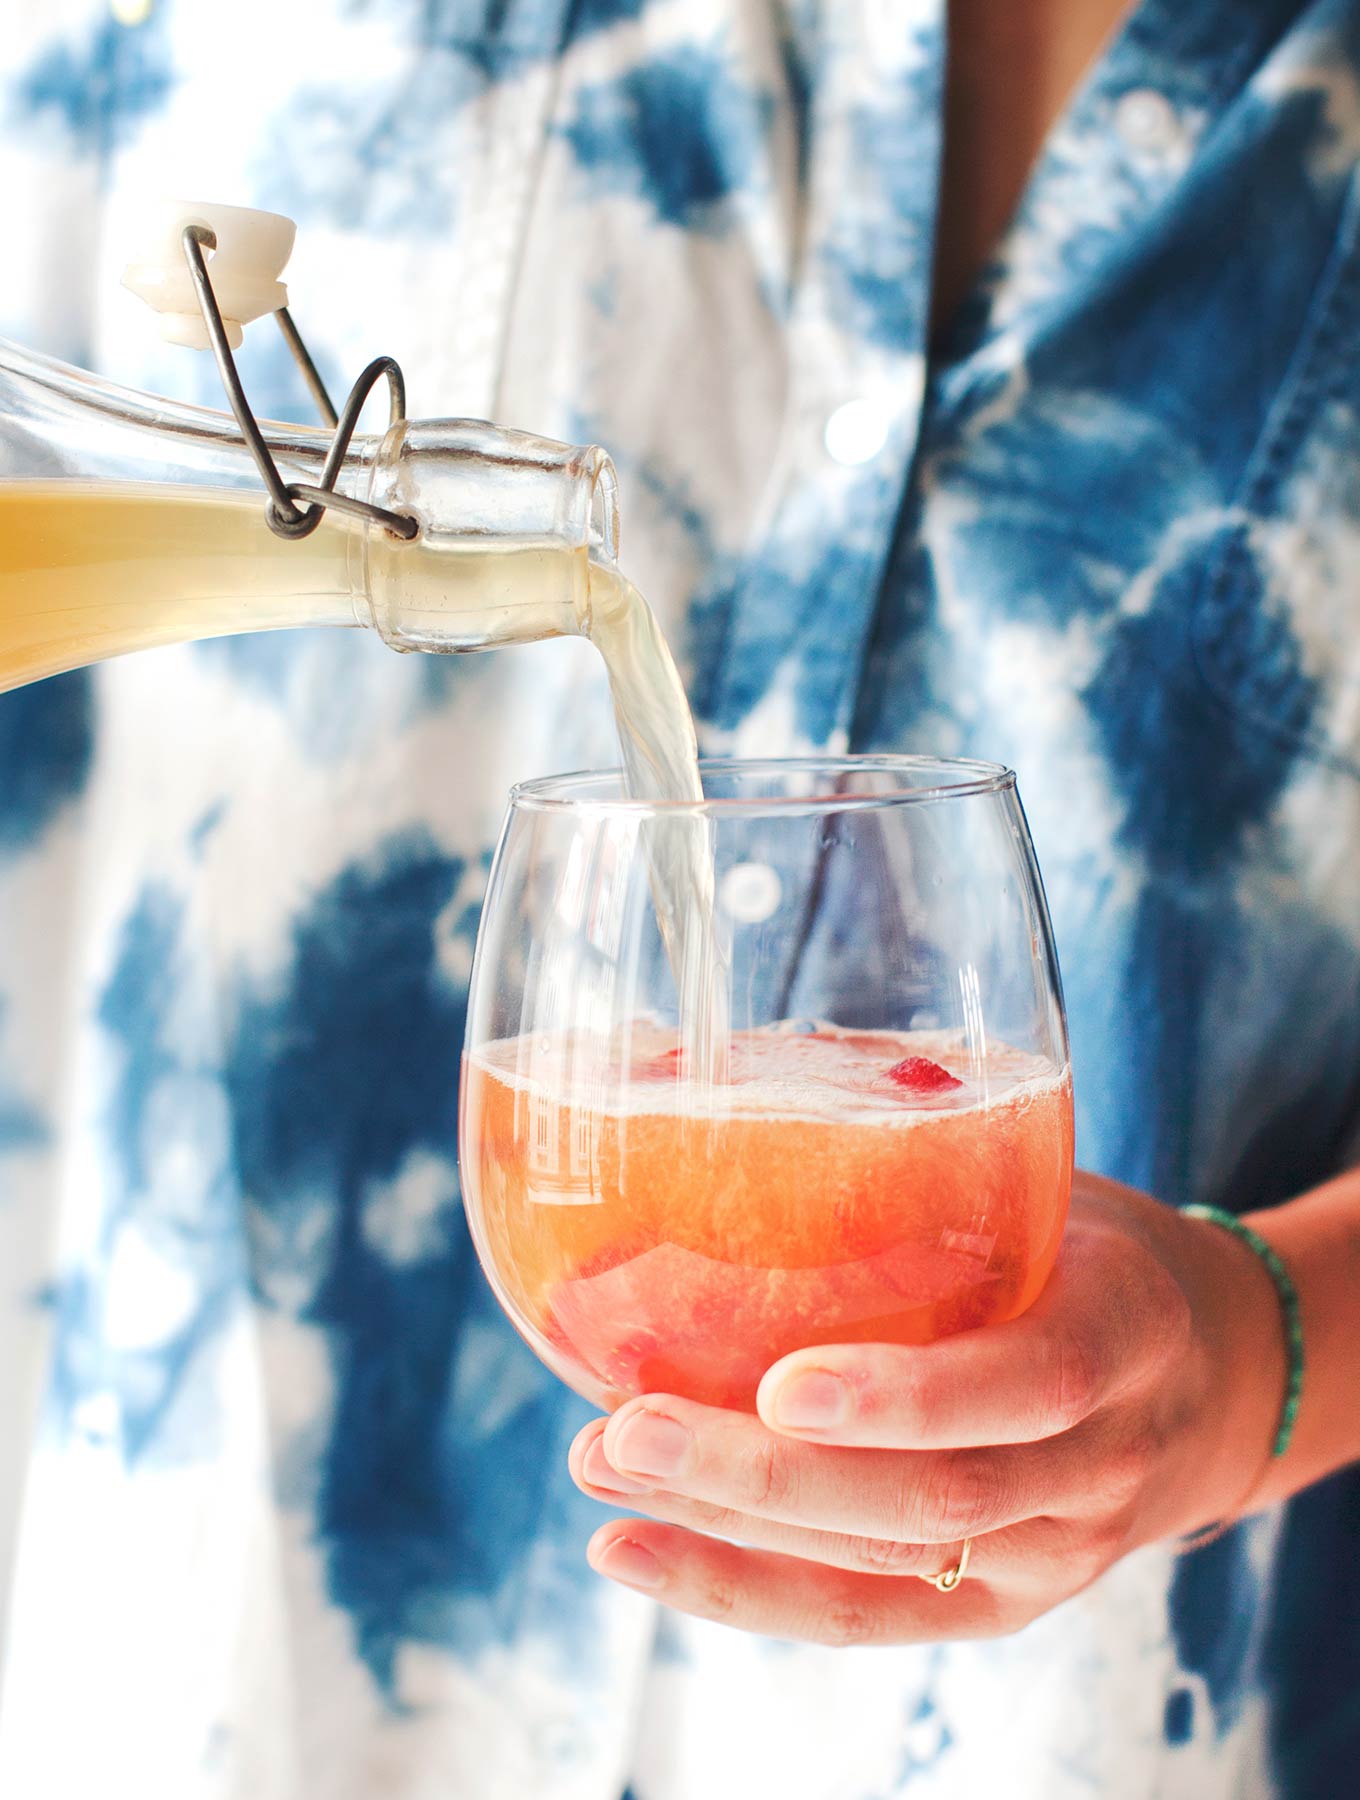
Second fermentation – flavouring your brew and making your kombucha fizzy
Although kombucha straight after the first fermentation is delish, I love to flavour it and make it really fizzy through a second fermentation. This involves adding a sweet substance, like fresh fruit or juice (I use unfiltered apple juice), to the bottles of brewed kombucha and letting it sit, sealed at room temperature for another couple of days instead of refrigerating it right away. This extra dose of sugar will feed the kombucha further and produce gas, which builds up inside the sealed bottle. This step is optional, but will make your kombucha really special and sparkly!
It’s essential that you use flip-top bottles with good seals for this step, since you want the gas to build inside the bottles at this stage. But because the pressure can be quite strong, I always recommend “burping” your bottles once a day until they have reached the amount of fizz you’re after. Simply flip the top on the bottles and you should hear the gas escaping, which is just enough to take the pressure off – there will still be plenty of sparkle in the kombucha. If you fail to burp your bottles, you may end up with an explosion on your hands! Needless to say this is quite dangerous, so set a timer for once day if you’re a forgetful person.
Taking a break from fermenting
There will come a time when you’ll have to pause your kombucha brewing cycle – perhaps if you’re traveling for a period of time, or simply feel like stopping – in which case, you need to know how to take a break.
Remove the SCOBY from the jar, separate the mother and the baby and put them into the same or separate glass jars (separate if you’re giving one away) with enough brewed kombucha to cover it, and seal with a plastic lid (remember that kombucha can not come into contact with metal, so stay on the safe side and use plastic). Keep this in the fridge where the temperature will slow down fermentation, and it will keep for many months. When you want to brew your new batch, remove the SCOBY from the fridge and let it come to room temperature before adding it to the sweetened and cooled tea, along with kombucha from your last batch, the SCOBY and the liquid it was stored in.
If you can time it properly, it’s a nice to be able to bottle your last batch right before you leave so that you can put your SCOBY away at the end of a cycle. I time it so that my second fermentation ends on my travel day so that I can store my bottles in the fridge while I’m gone. If it doesn’t exactly line up, you can do this by increasing the first or second fermentations by a few days. Remember that if you bottle early, it will be sweeter, and if you leave it longer it will be more acidic. Some people will leave their kombucha brewing for up to a month and that may suit you, but I personally wouldn’t leave mine for more than 2 weeks. If you are flexible on the taste and don’t mind these flavour variations, it will be a lot easier to time your break.
Whatever you do, don’t start a brew right before you leave for more than a couple weeks (unless you like very vinegar-y kombucha), and definitely don’t leave your second fermentation bottles out at room temperature! You’ll come home to an epic mess or worse.
Homebrewed Kombucha
Makes 1 gallon / 4 liters
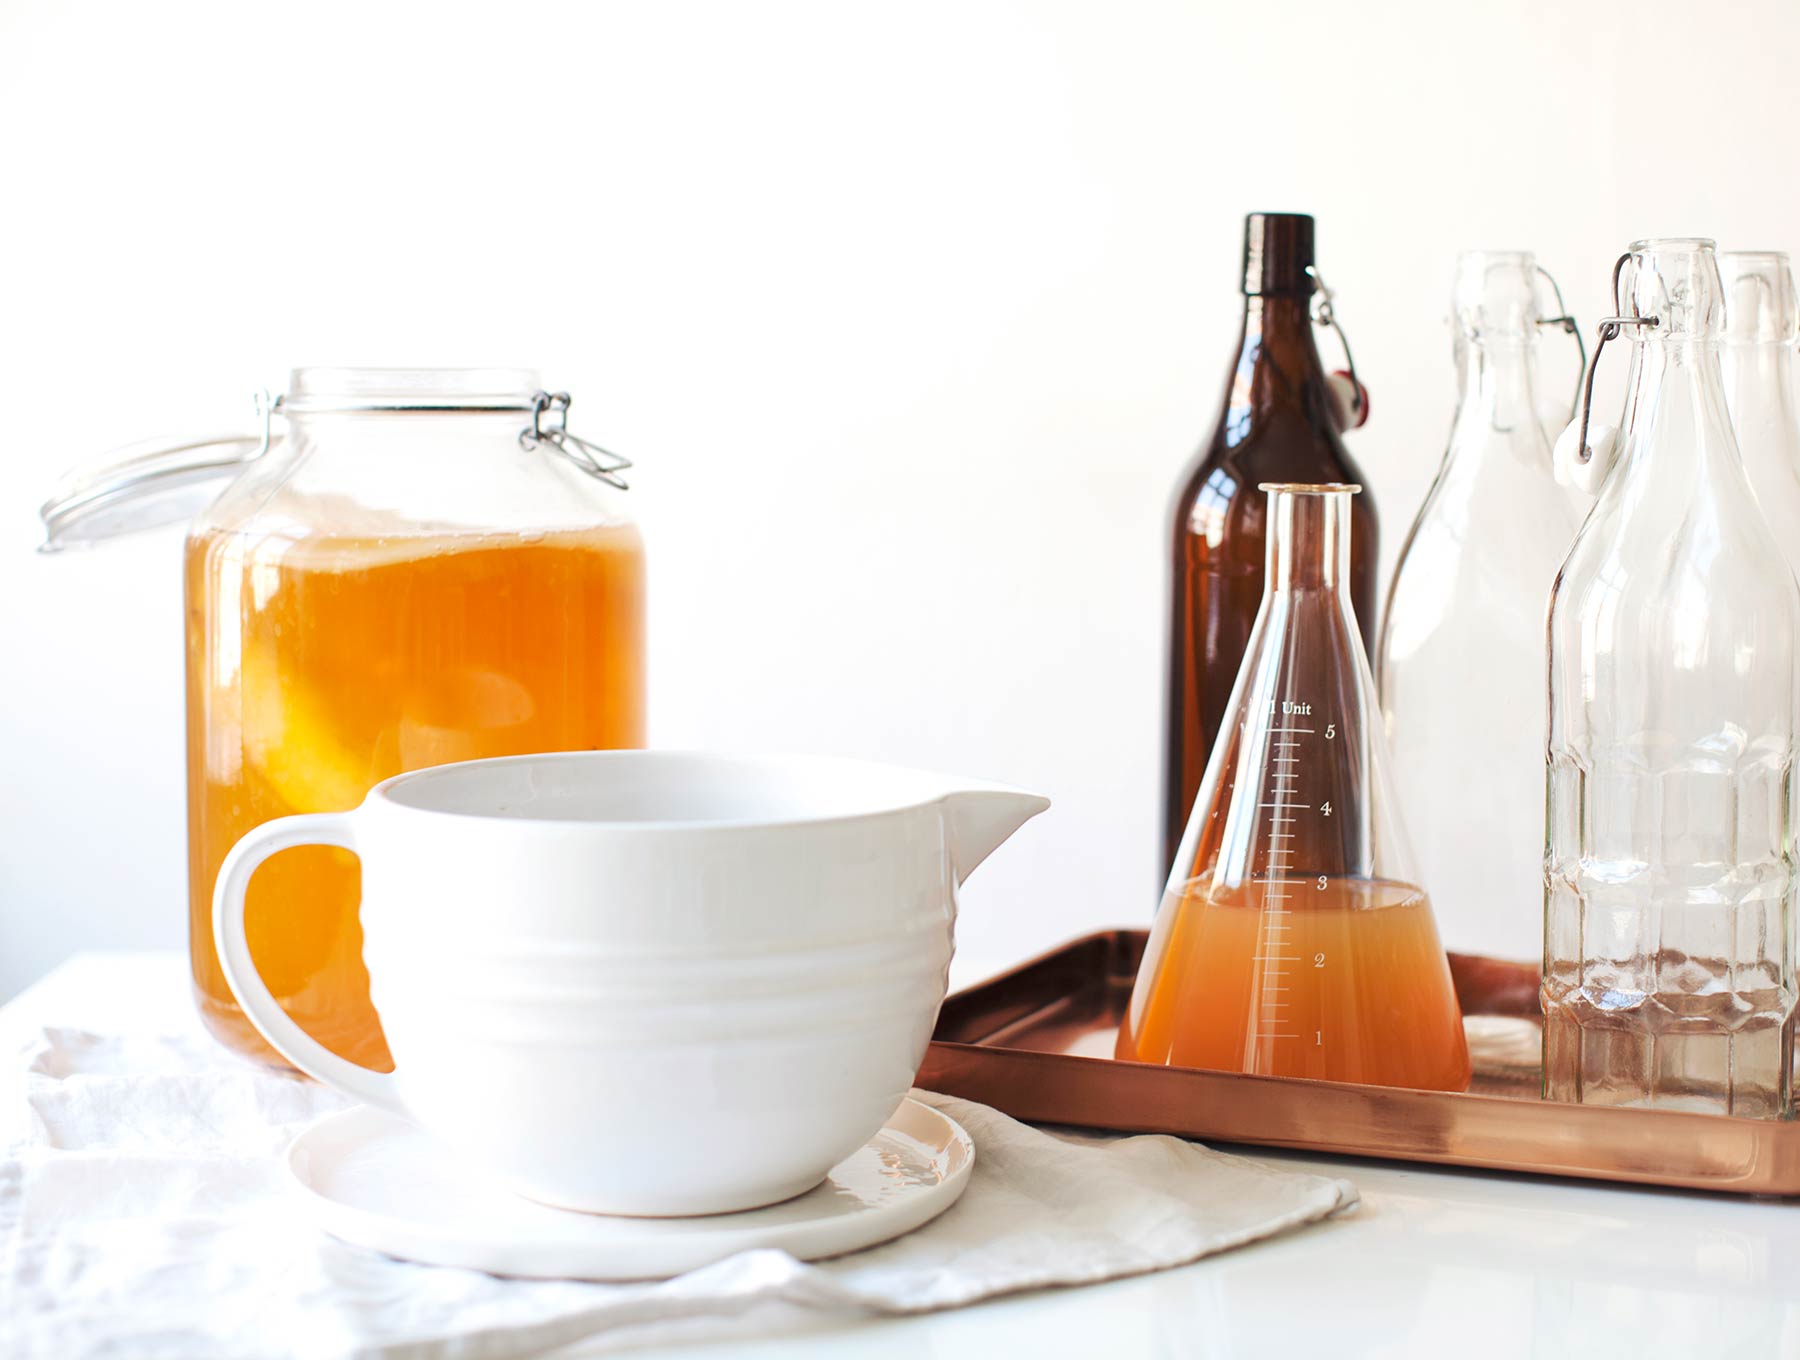
Equipment:
something to brew tea in (very large teapot or stockpot)
1 five-quart / five-liter glass jar
4 one-quart / one-liter flip-top glass bottles
tightly woven cloth (a clean tea towel, paper towel, or many layers of cheesecloth)
rubber band
wooden spoon
Ingredients:
1 cup / 210g organic, evaporated cane juice or raw sugar (you can also use refined white sugar)
2 Tbsp. loose black or green tea OR 8 tea bags (I prefer green)
4 quarts / liters water
2 cups / 500ml kombucha tea (from your last batch or acquired)
1 SCOBY (from your last batch or acquired)
Second fermentation (optional):
3 cups / 750ml fruit juice of your choice
OR
1 cup chopped fresh or dried fruit
Optional flavourings:
fresh or dried fruit
fresh ginger / ginger juice
fresh or dried herbs and spices
honey or maple syrup
food-grade essential oils
Method:
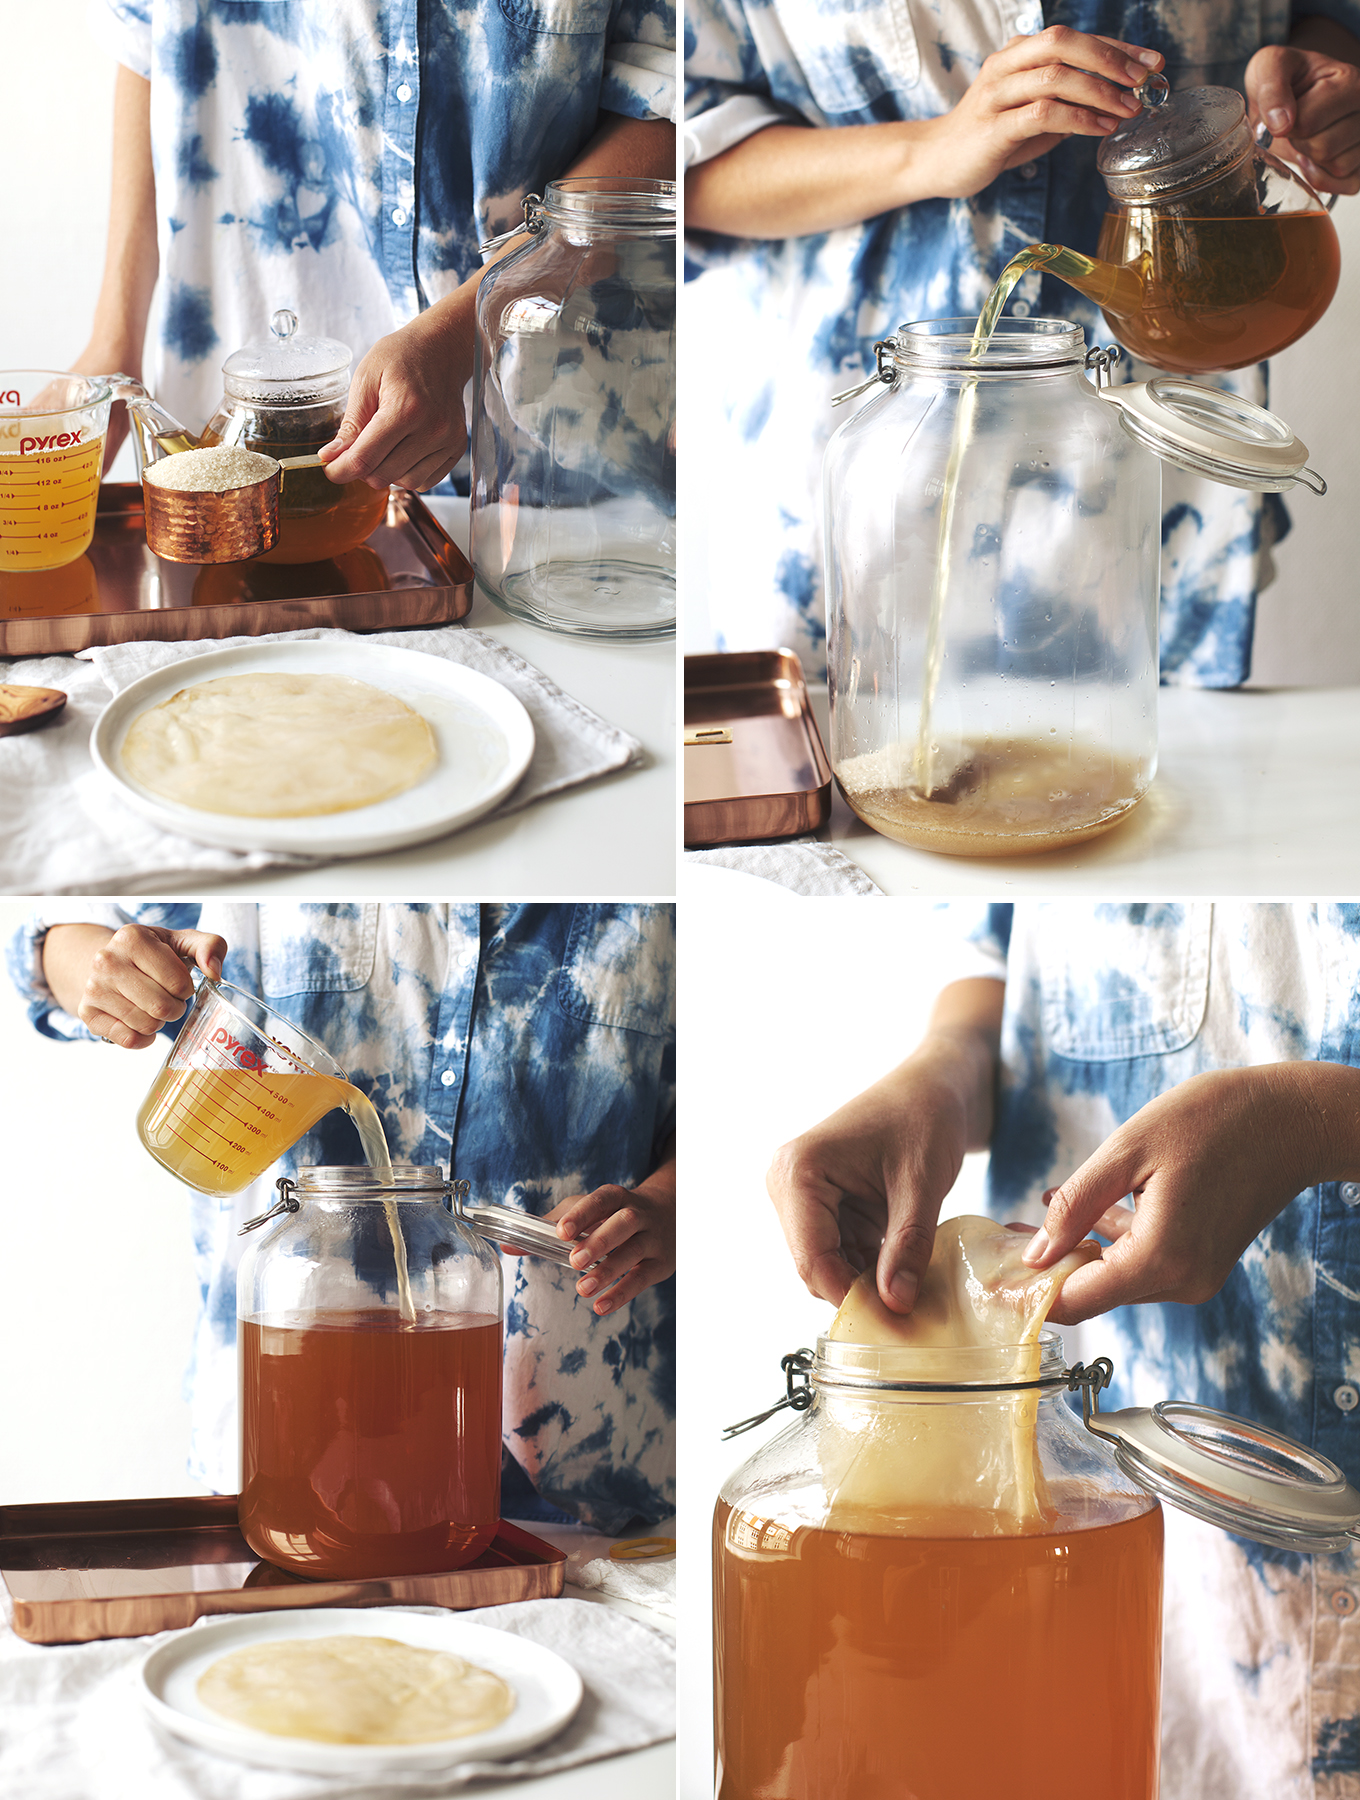
1. Brew the tea. Use unchlorinated / unflouridated water. Bring to the boil and pour over the tea of your choice and let steep for 20-30 minutes (you want it to be very strong). If using a small tea pot, brew two pots and pour brewed tea into your kombucha container.
2. Sweeten the tea. Add the 1 cup / 210g of sugar and still well to dissolve.
3. Cool the tea. This step is important since the SCOBY does not tolerate heat and has the potential to die if added to hot liquid. To speed up the cooling process, I brew 8 cups / 2 liters of strong tea, then add 8 cups / 2 liters of cold water. This way, it usually takes only an hour or two to reach room temperature.
4. Add 2 cups / 500ml pre-made kombucha and the SCOBY. Add the pre-brewed kombucha, which raises the acidity level of the tea. This aids the fermentation process, but also protects the SCOBY from harmful bacteria during the initial fermentation phase. If it is your first time brewing kombucha, simply purchase 2 cups / 500ml of kombucha to add to the cooled tea, along with whatever liquid your SCOBY came with. If you are bottling your own kombucha, simply add 2 cups / 500ml from your last batch. Remove all of your jewelry and wash your hands thoroughly. Gently slip the SCOBY into the tea.
5. Cover. Use a piece of fabric that is tightly woven (a clean tea towel works well) or several layers of cheesecloth, secured with a rubber band. You can even use a piece of paper towel or a coffee filter. The point here is to allow air to flow in and out of the brewing container, while keeping pests like fruit flies out – they love this stuff!
6. Give your kombucha a home. Place the kombucha container in a place where it will not be disturbed or jostled, out of direct sunlight, but where it will get enough airflow (a small cupboard is therefore not the best place). I leave mine out on the counter where I can keep an eye on it, but I do not move it until day 7 when I start tasting.
7. Let ferment for 7-10 days. During the fermentation time, you may see a lot of activity in the brewing container. Bubbles, film-y bits, and the mother SCOBY floating and around and changing positions are all normal occurrences. After a few days you’ll notice the surface of the tea changing and becoming cloudy or opaque-looking. This is the new SCOBY forming and is a great sign that you have a healthy brew on the way!
The fermentation time depends on a few factors, such as the temperature of the environment (warmer temperatures speed fermentation), but also your preferences. If you like a sweeter kombucha, one week may be enough time. If you like a less sweet, more vinegar-y kombucha then allowing the brew to ferment for 10 days or more may be what you’re into. I recommend tasting the kombucha every day from day 7 onwards and bottle it once it’s reached a taste that you enjoy. It’s totally subjective and totally up to you! That’s one reason it’s so great to brew your own.
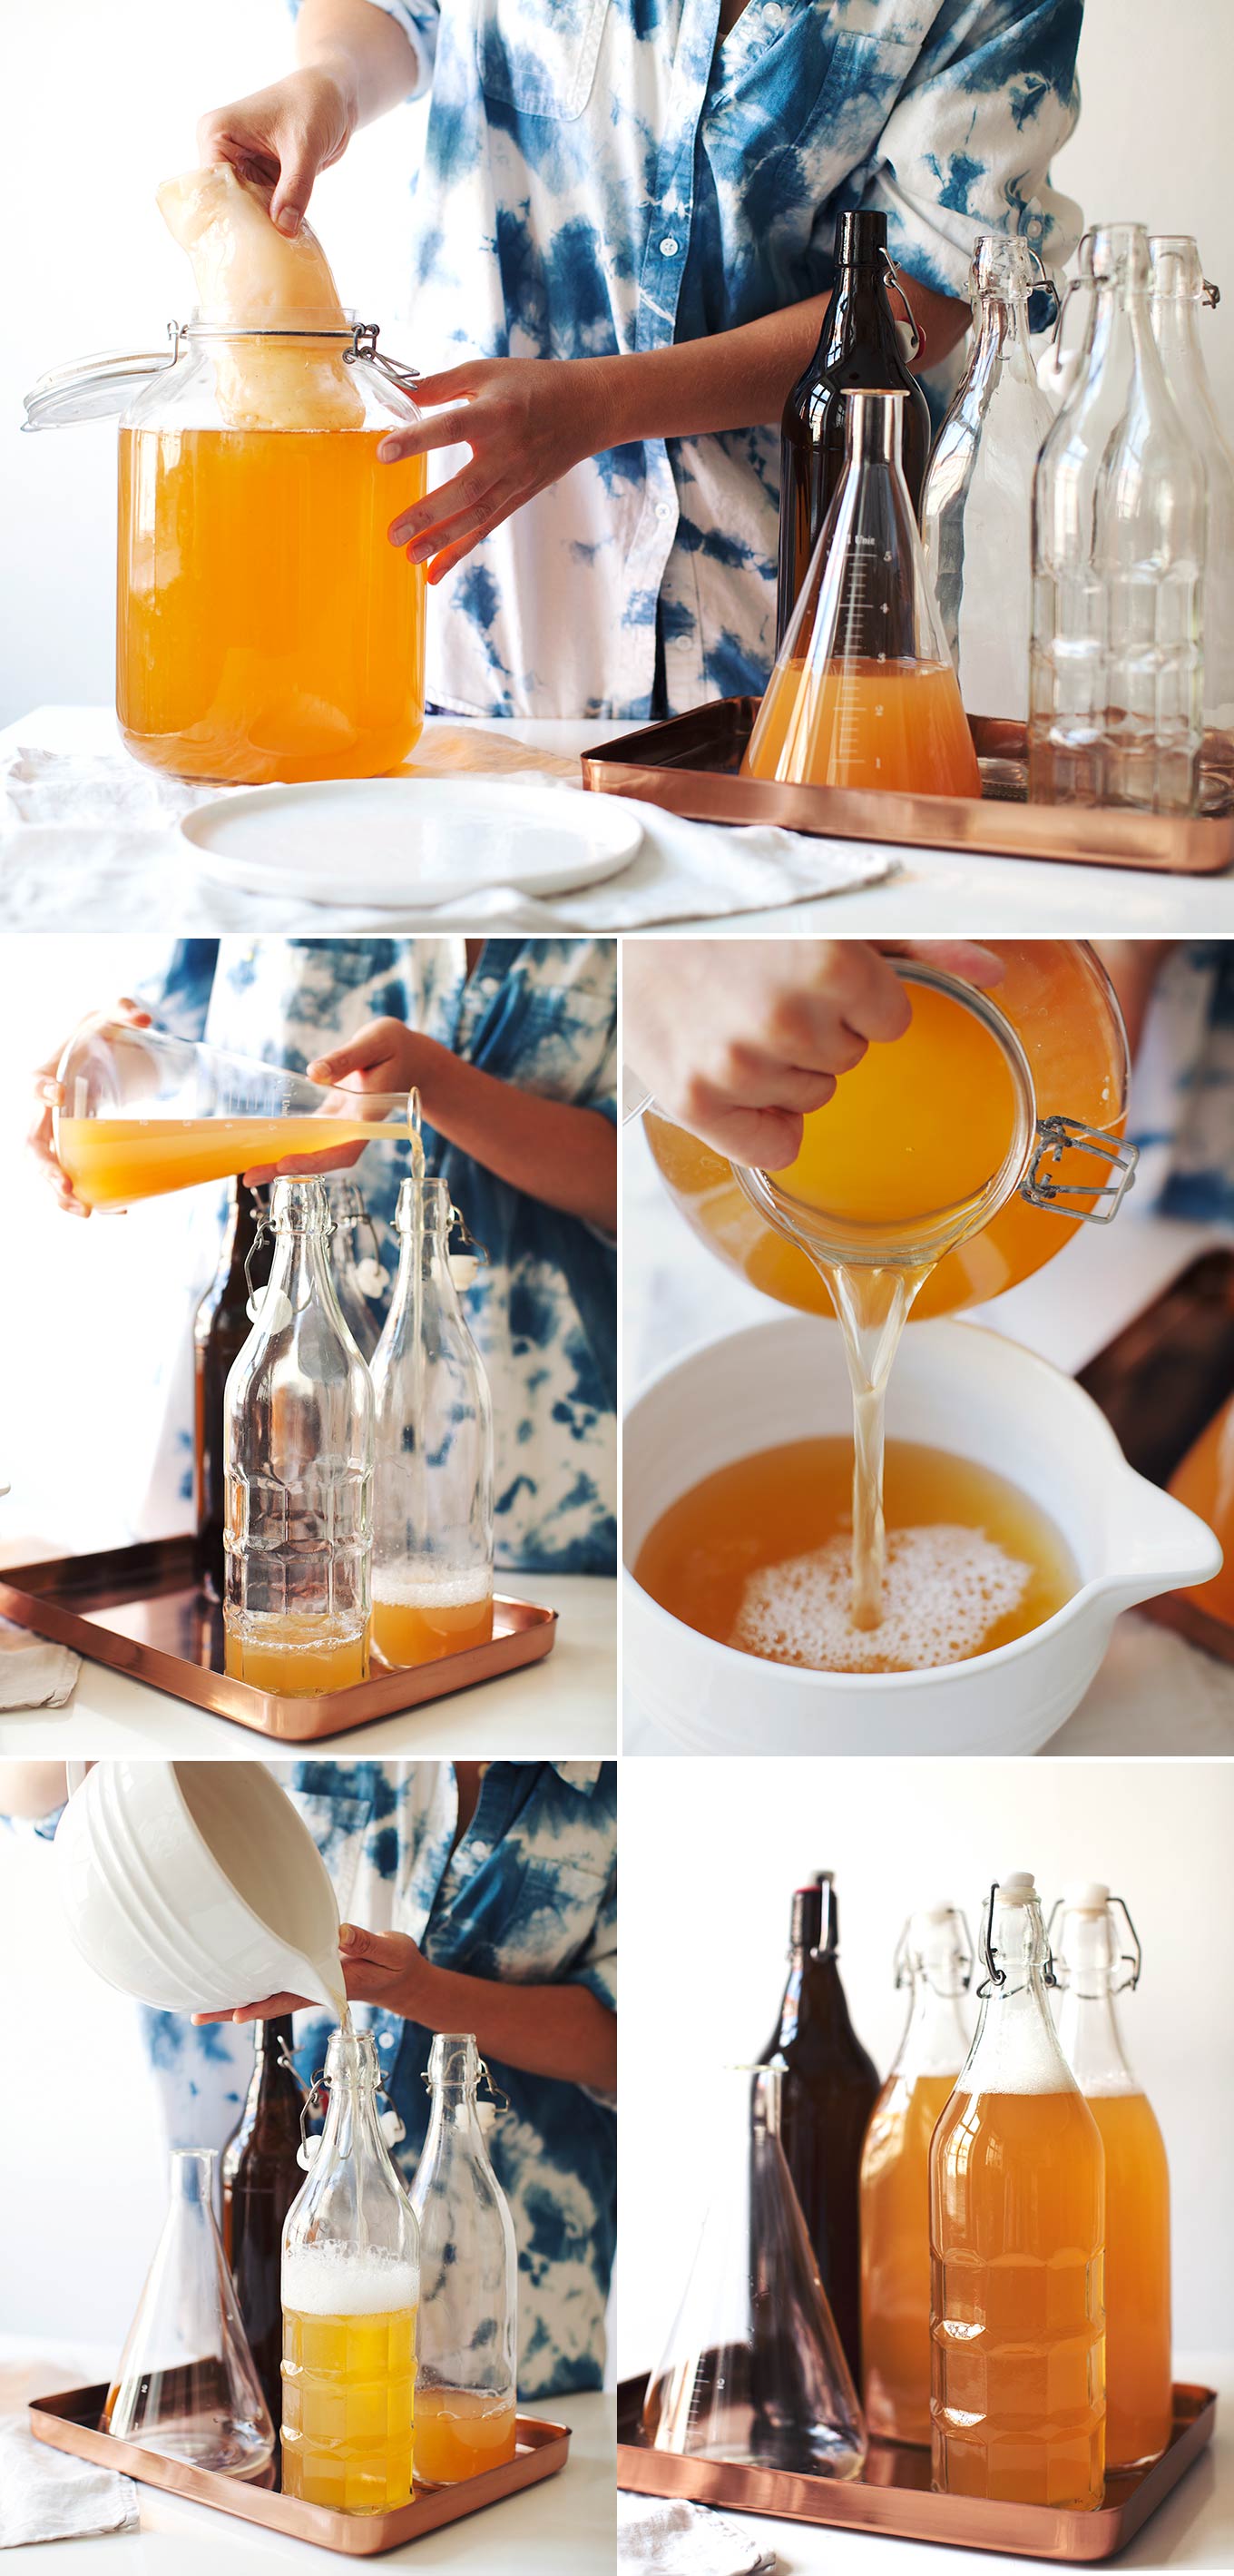
8. Remove SCOBY and 2 cups / 500ml kombucha. Once your kombucha tea tastes just the way you want it to, prepare to bottle it. Take off all your jewelry and wash your hand thoroughly. Remove the SCOBY
9a. Bottle kombucha and repeat the process. I like to pour the kombucha tea from the large brewing jar into a container with a spout to avoid spills. You can also use a funnel for this process. Seal the bottles and place in the fridge.
And now it’s time to brew a fresh batch! Start up at step 1 and complete the cycle. Now you’re a kombucha brewer!
9b. Second fermentation – optional. If you want to carry out the second fermentation, divide the juice or fruit among the bottles first, then add the brewed kombucha on top. Seal the bottles and let at room temperature for 2-3 days until it is carbonated to your liking, then store in the fridge. Very important: remember to release the pressure in the bottles every day that they sit at room temperature – this is called burping – open the lid briefly to let any excess gas out, which will prevent an explosion (I am totally not kidding).
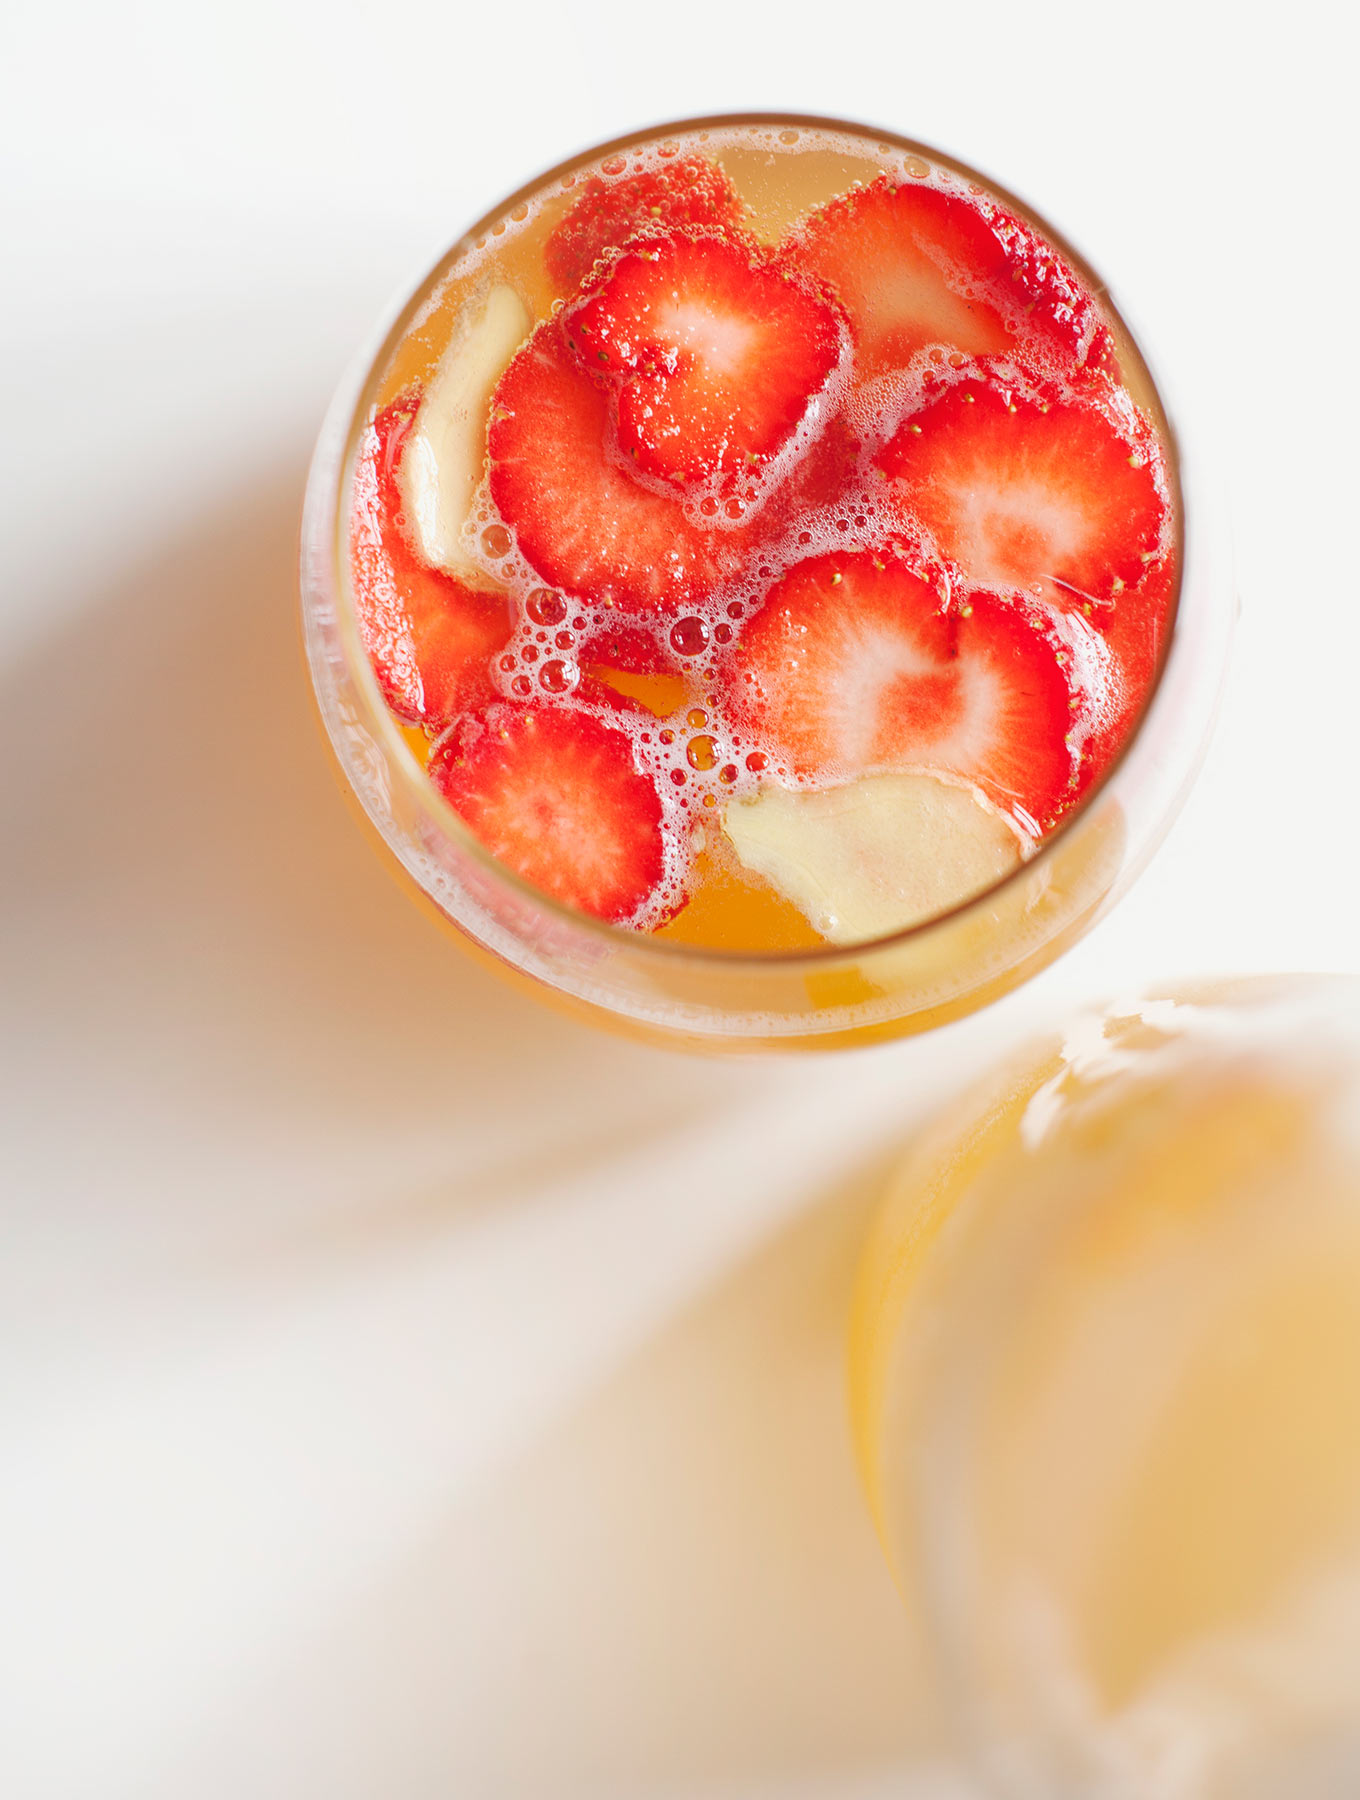
10. Enjoy! It’s finally time to enjoy your kombucha! Drink it as is, or flavour it further as you like. I like to add sliced seasonal fruit to my glass before serving, a few slices of ginger, essential oils, superfoods like spirulina or more fresh juice.
Important things to note:
1. Kombucha survives and thrives on cane sugar. You can use raw cane sugar like I do, instead of bleached white sugar, but both work fine. Honey, maple syrup, coconut sugar etc. and other “healthier alternatives” have very mixed results. I realize it’s hard for any health-conscious person to use sugar, but remember that the SCOBY is fed, not sweetened with sugar.
2. Always use unchlorinated / unflouridated water for brewing the tea.
3. Do not use herbal tea or any tea that contains flavourings or oils, Earl Grey tea for instance. Stick with organic, pure black or green tea leaves / bags.
4. Do not allow the SCOBY to come into contact with metal at any time (remember to remove your jewelry before handling the SCOBY).
5. Wash your hands and your equipment extremely thoroughly every time. Vinegar is better for cleaning than soap as it does not leave any residue that can harm the SCOBY.
6. Keep the critters out! Use very tightly woven fabric to cover your brewing container.
7. The SCOBY is very sensitive to air contaminants, so don’t burn incense or smoke near the brewing container.
8. If mold forms, or if you see any worms / flies in the kombucha or on the SCOBY, toss the entire batch including the SCOBY and start over. Do not be discouraged – it happens!
I know that this seems like a lot of information, but I wanted this post to be thorough so that you could have all the information you need to start brewing! If you have another variation on brewing, or tips and tricks that you think others would find helpful, please let me know in the comments! And because I know you’re going to have a lot of questions, I’ll try to check in on this post more often to answer them.
Here are some great online resources for those who want more information on brewing kombucha:
- The most in-depth kombucha brewing info and how-to videos: Cultures for Health
- Step-by-step photos: The Kitchn
- Excellent troubleshooting resource: Bestweb
Remember that it may take a few batches (and a few SCOBYs) to get your kombucha just the way you like it, but it’s a really fun, empowering and delicious project that will make you feel like you can do anything in the kitchen! Did I mention you’ll get to drink kombucha every day for the rest of your life? Yes, there’s that too.
All love and happy brewing,
Sarah B.
Show me your kombucha on Instagram: #MNRkombucha
* * * * * *
More news!
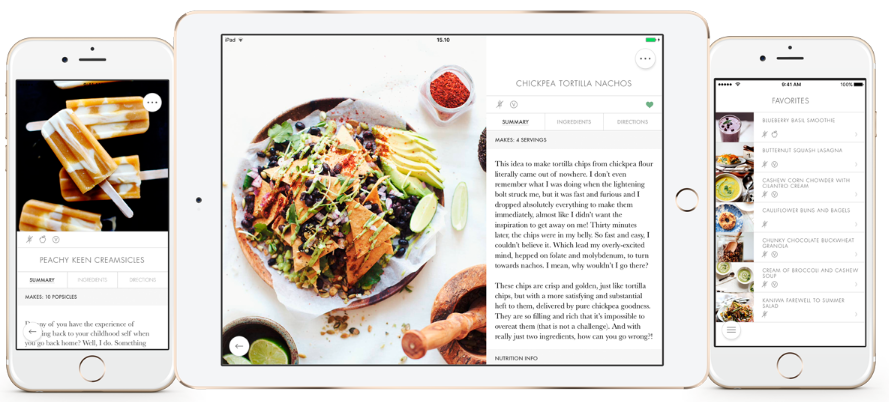
The My New Roots recipe app now has an updated iPad design and it synchronizes your favorites, shopping list and recipe notes between your iPhone and iPad. In other words: make your shopping list on the iPad, and you’ll have it right on the phone when you’re in the store. Neat!
If you already have the app, just update it. If not, click here to go to the App Store.
The post Brew your own Kombucha! appeared first on My New Roots.